Lorac Pro Conceal/ Contour Review

This post contains affiliate links. Please read my disclaimer for more information.

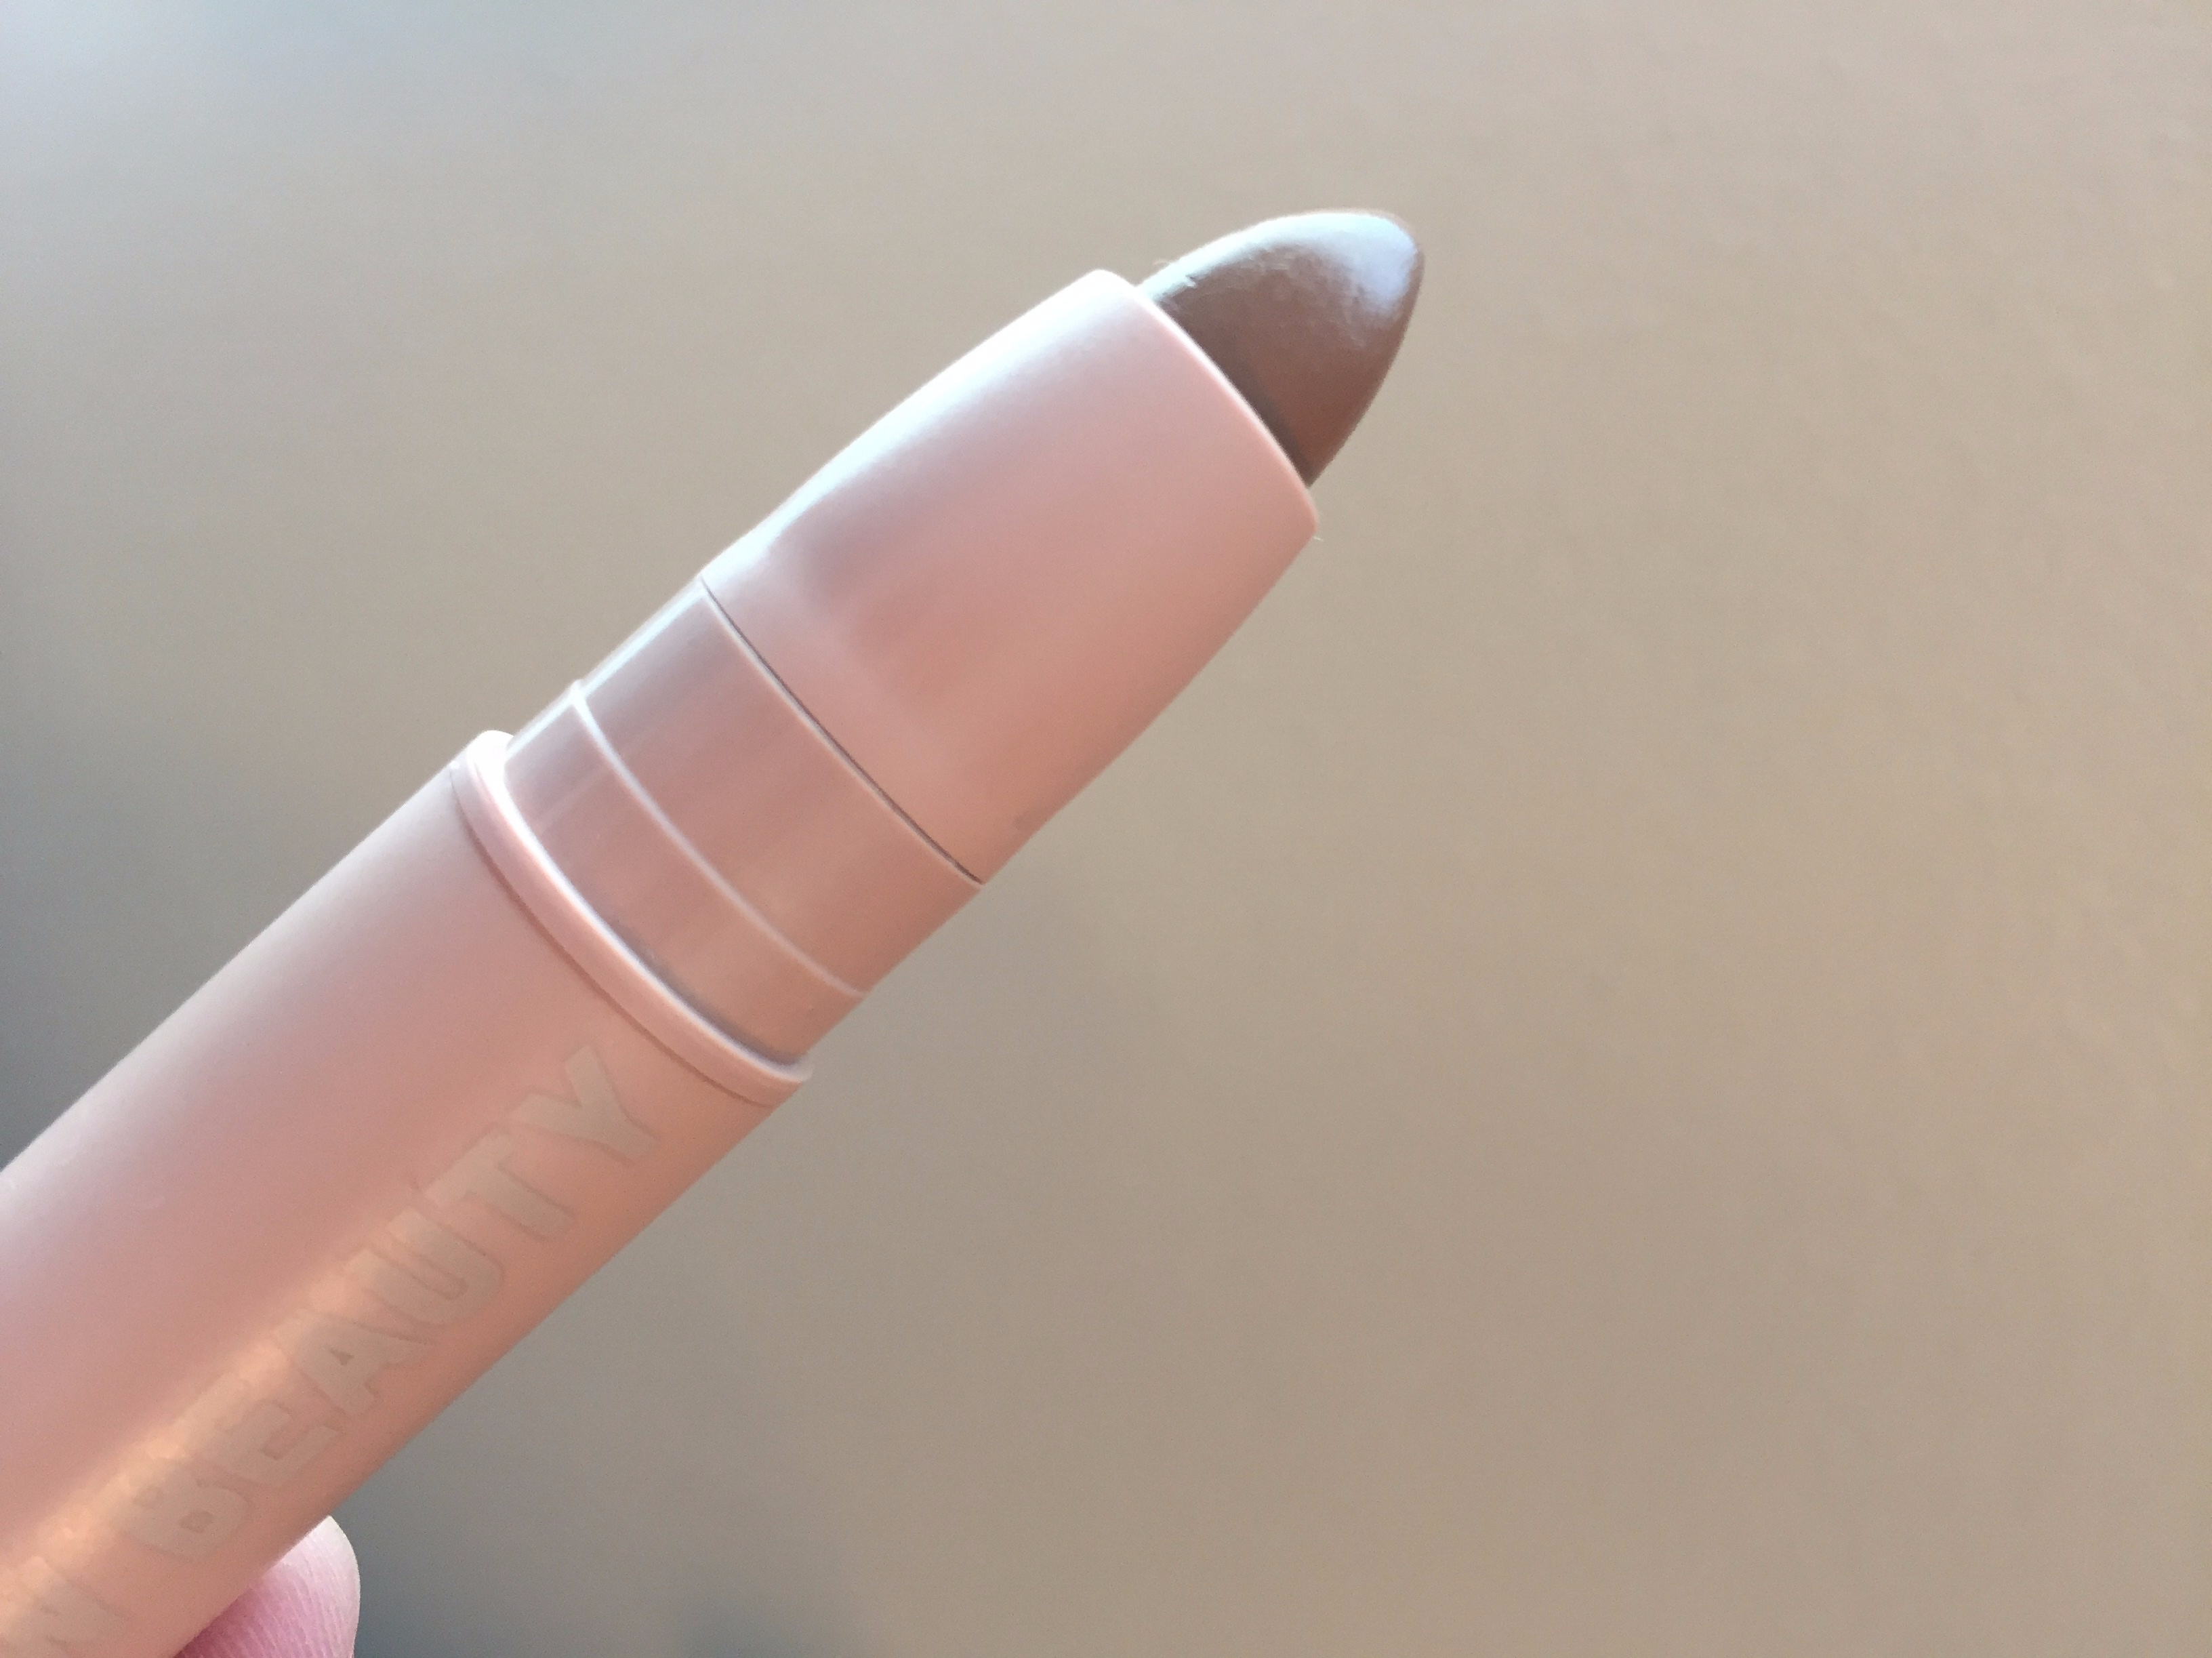
Truth be told, I meant to purchase the Lorac contour POWDER palette but I accidentally purchased this cream contour kit instead. This palette includes 8 conceal/contour shades and 4 shimmer highlight shades. The kit also includes a double ended brush and retails for $45. If you are so inclined, you can buy this kit at Ulta here. After the failure of the Kim Kardashian contour sticks (if you missed my review, you can read it here,) I was determined to find a contour palette that worked for me. So, off I went to Ulta and purchased this one by mistake.
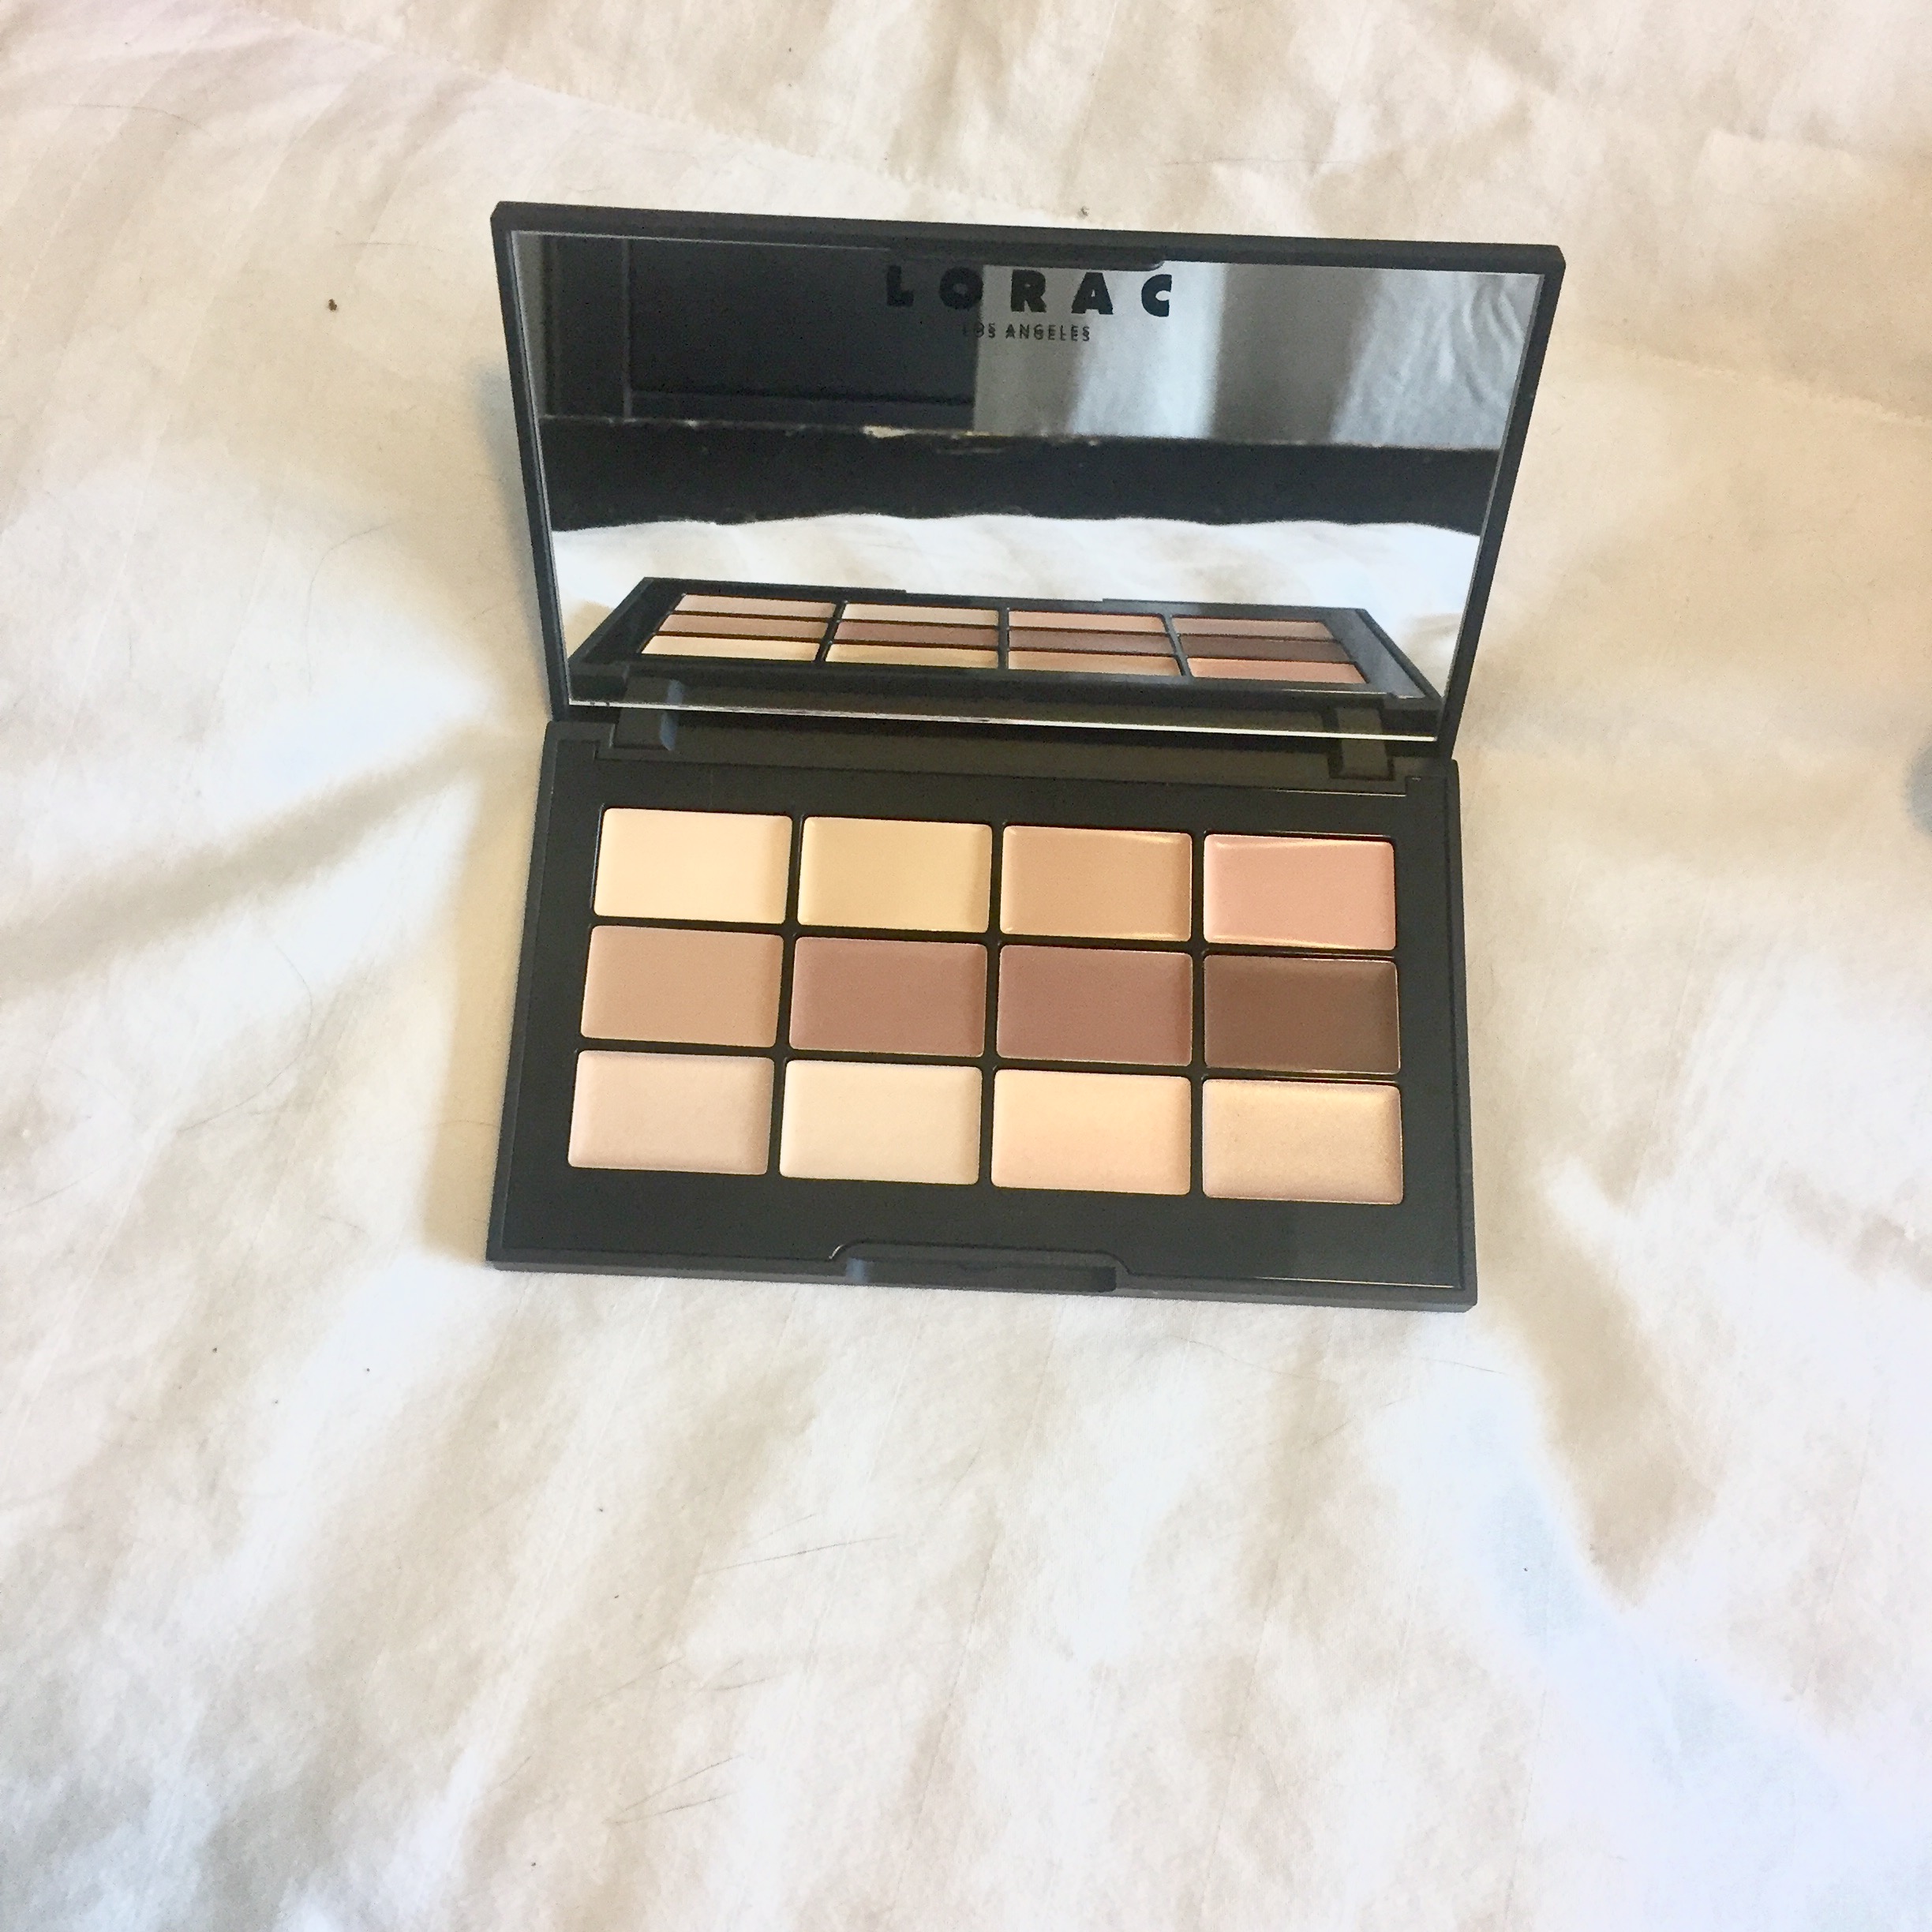
Lorac Pro Conceal/Contour Review

In order to use this palette, I first prepped my skin with moisturizer and applied my favorite,  Urban Decay All Nighter Liquid Foundation in shade 3.25 with the Urban Decay Pro Optical Blurring Brush.
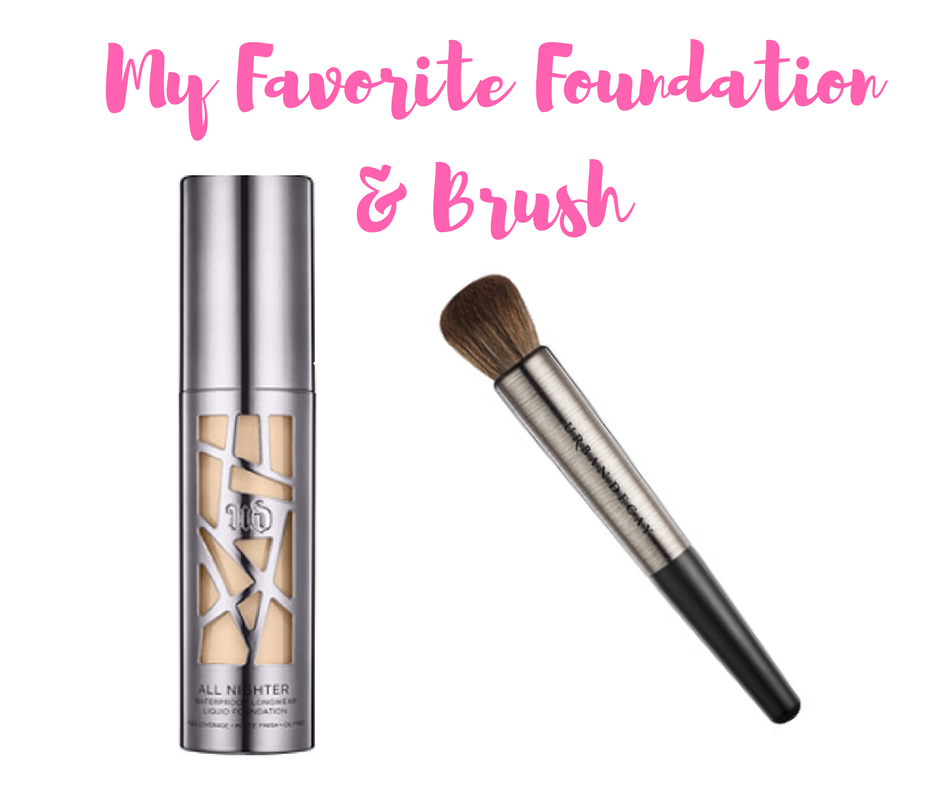
My Favorite Foundation & Brush.png

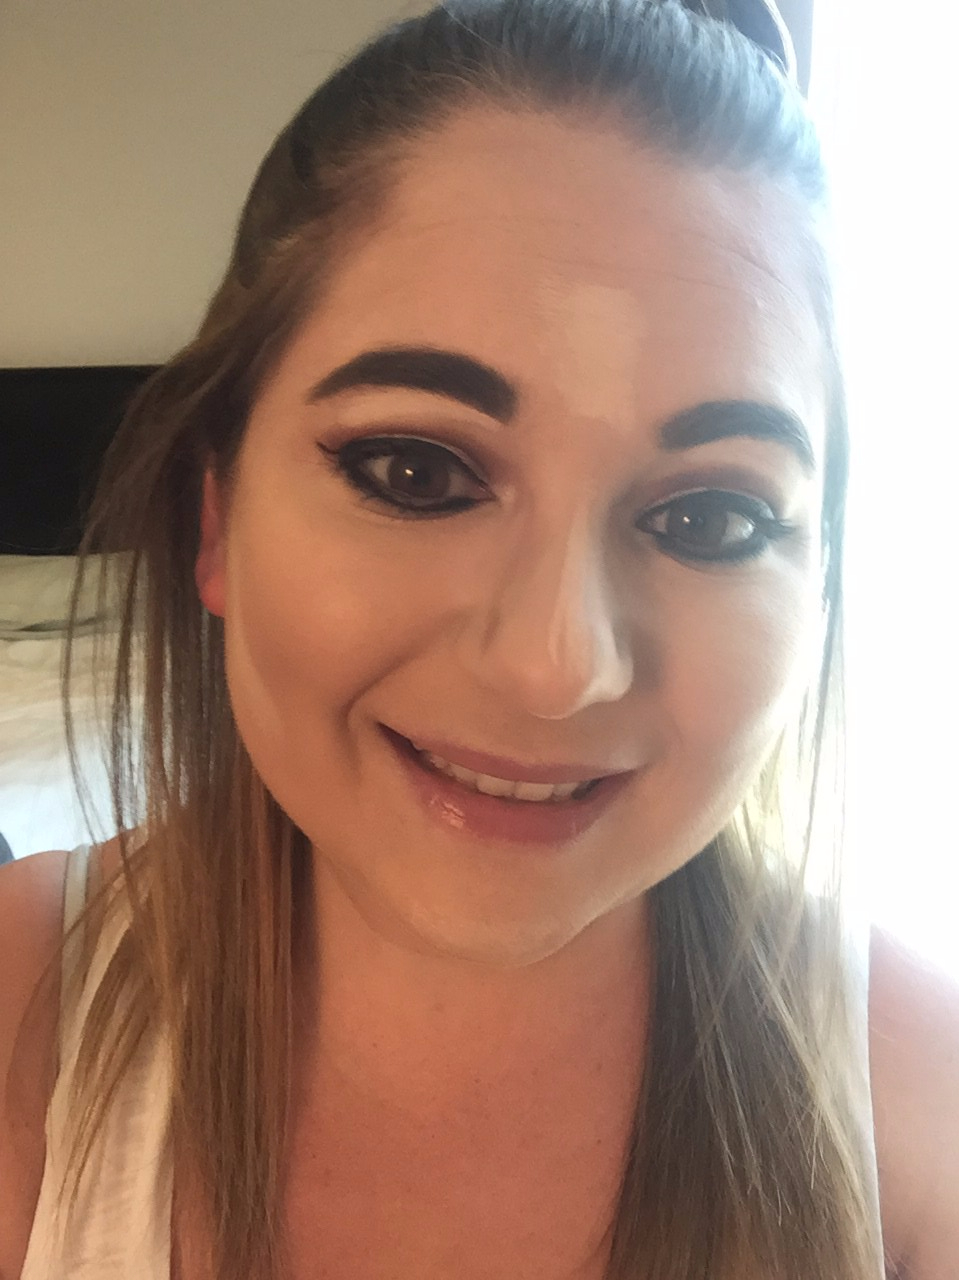
Here’s a look at my face without any contour. Boring, right?

FullSizeRender (11).jpg

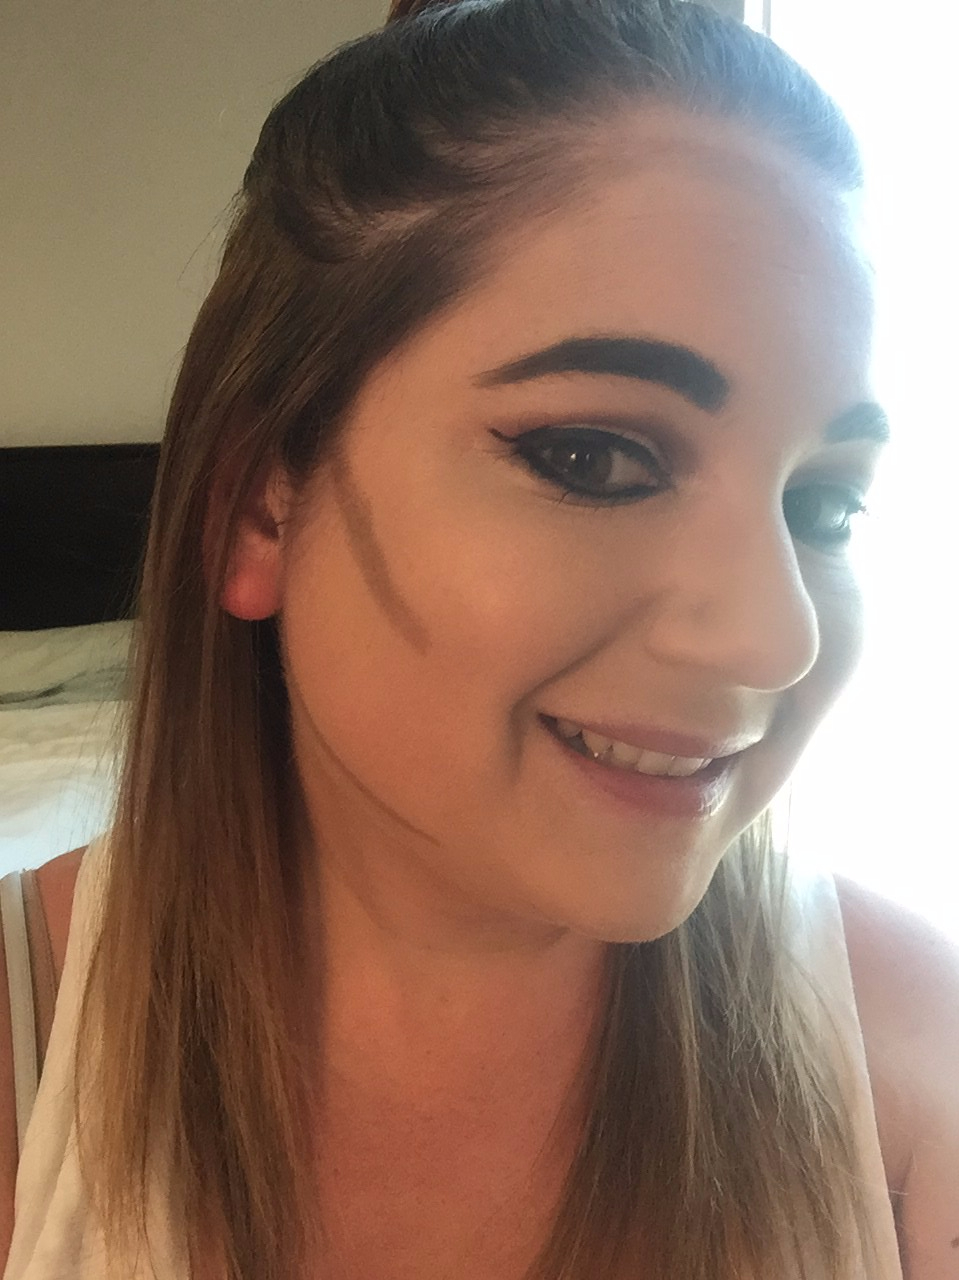
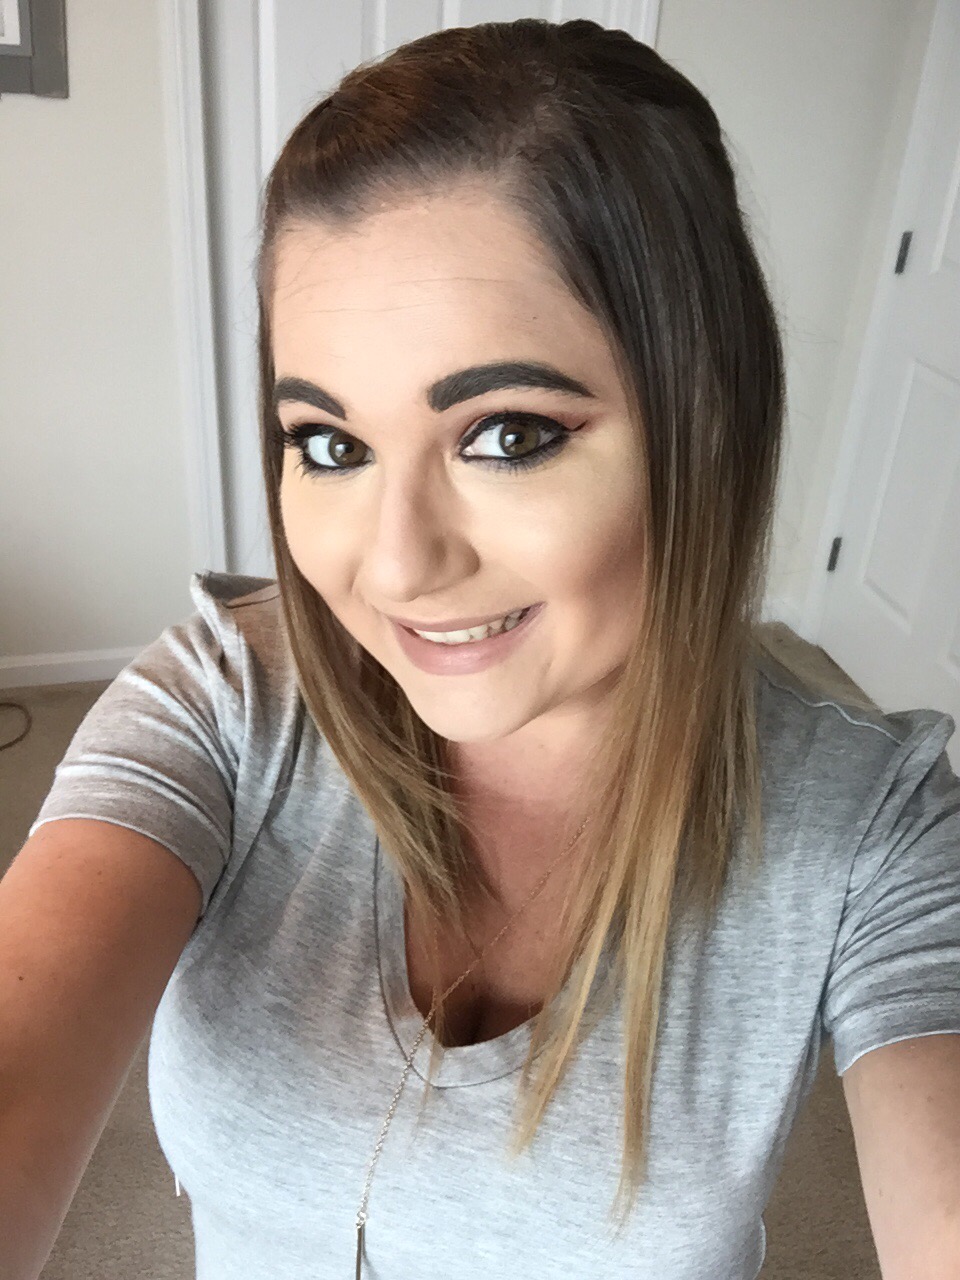
Next, I took the second to lightest concealer shade and applied it with my fingertips underneath my eyes in a triangle shape. I then used the third darkest contour shade and applied it underneath my cheekbone and blended with my fingertips. To create a little more depth, I applied Benefit Hoola Bronzer on top of the contour shade. Lastly, I applied the third darkest shimmery highlighter above the contour shade.
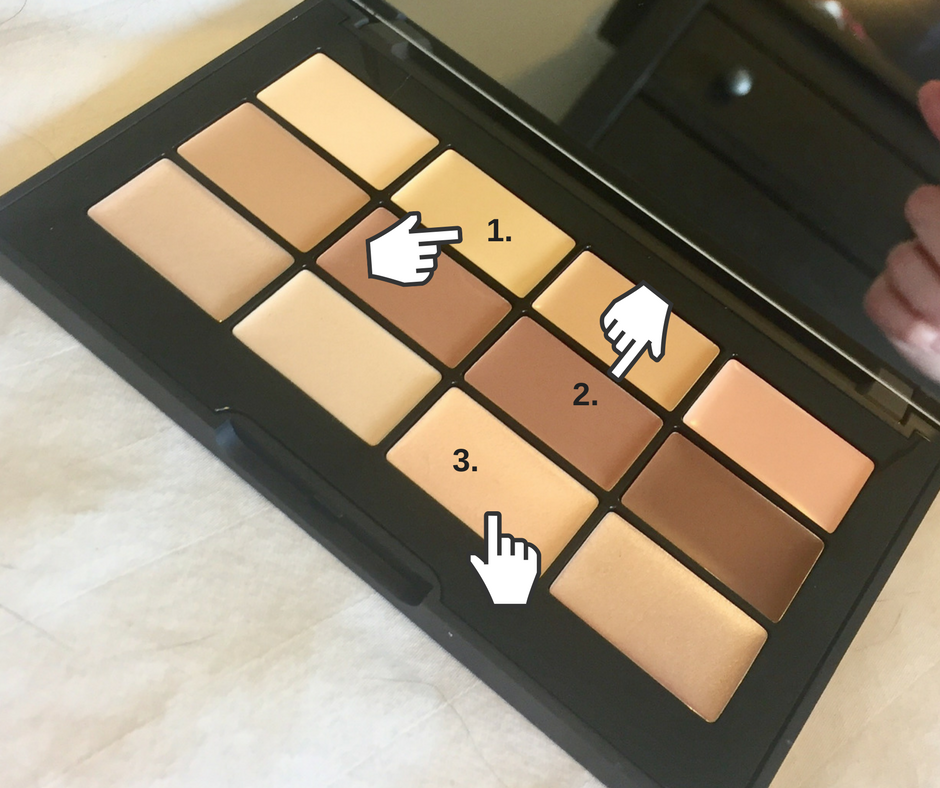
Lorac Pro Conceal/Contour Review

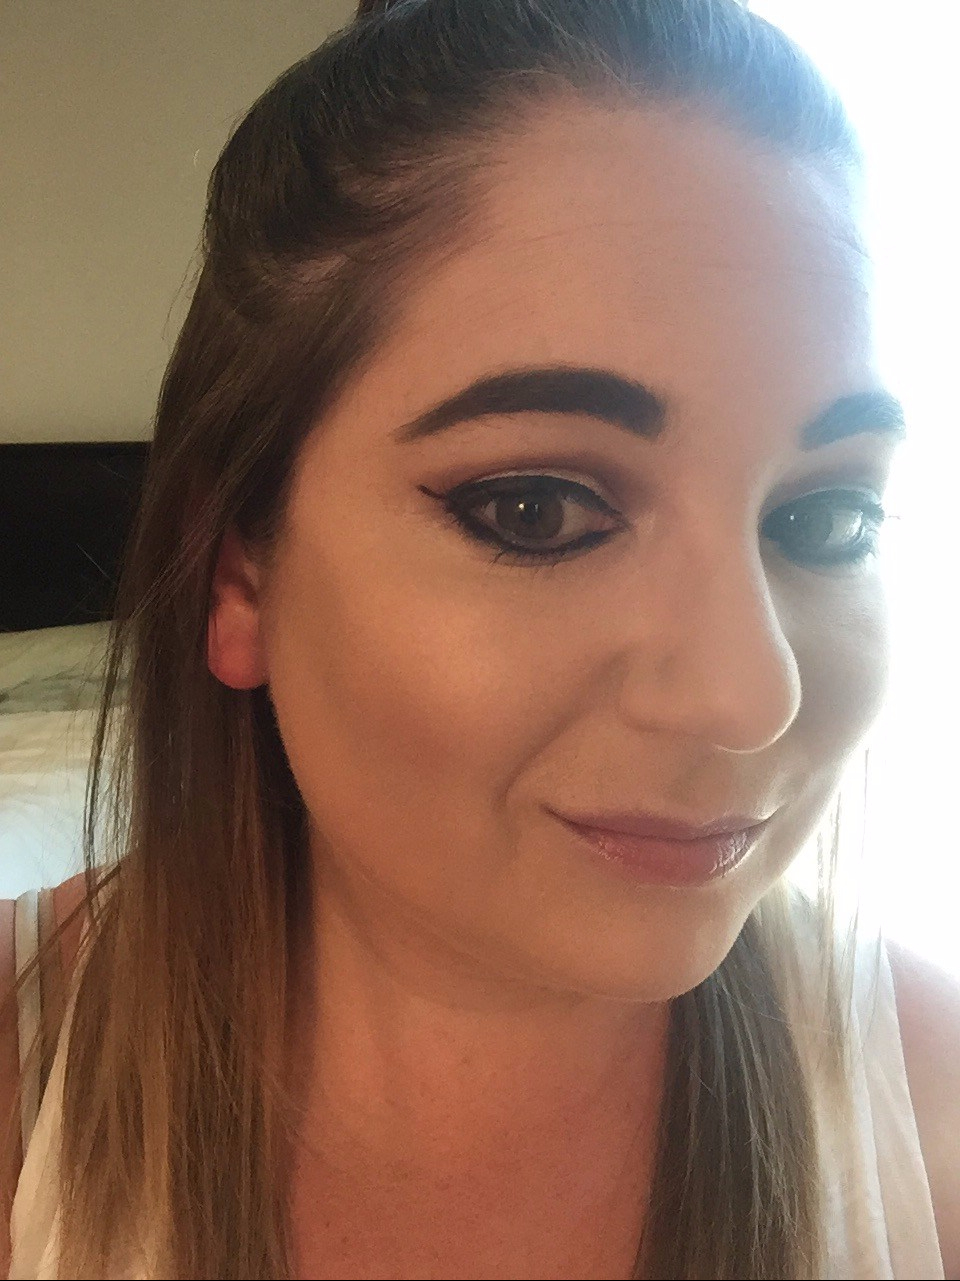
Drum roll please for the final product…
Lorac Pro Conceal/Contour Review

IMG_7322.JPG

VERDICT: I actually really like this palette! The brush, however, is pretty useless. I think the product goes on much better with a fingertip application. The contour shades aren’t too dark so they are good for my skin tone. I definitely plan on purchasing this palette again and this time on purpose!

Does anyone else have this palette? What do you think?
Diana

KKW Beauty Contour Sticks

As embarrassed as I am to admit it, I’m a huge reality show junkie and lover of the Kardashians. So, when Kim Kardashian (the contour queen herself) came out with makeup line featuring contour sticks, I knew I had to have it. Naturally, as any obsessed Kardashian junkie would do, I positioned myself at my computer at 12:00 on the dot to be one of the firsts to snag this contour kit. The kit retails for $48 + $8.95 shipping and although the shipping cost was a killer but I really didn’t find $48 unrealistic for a kit like this.

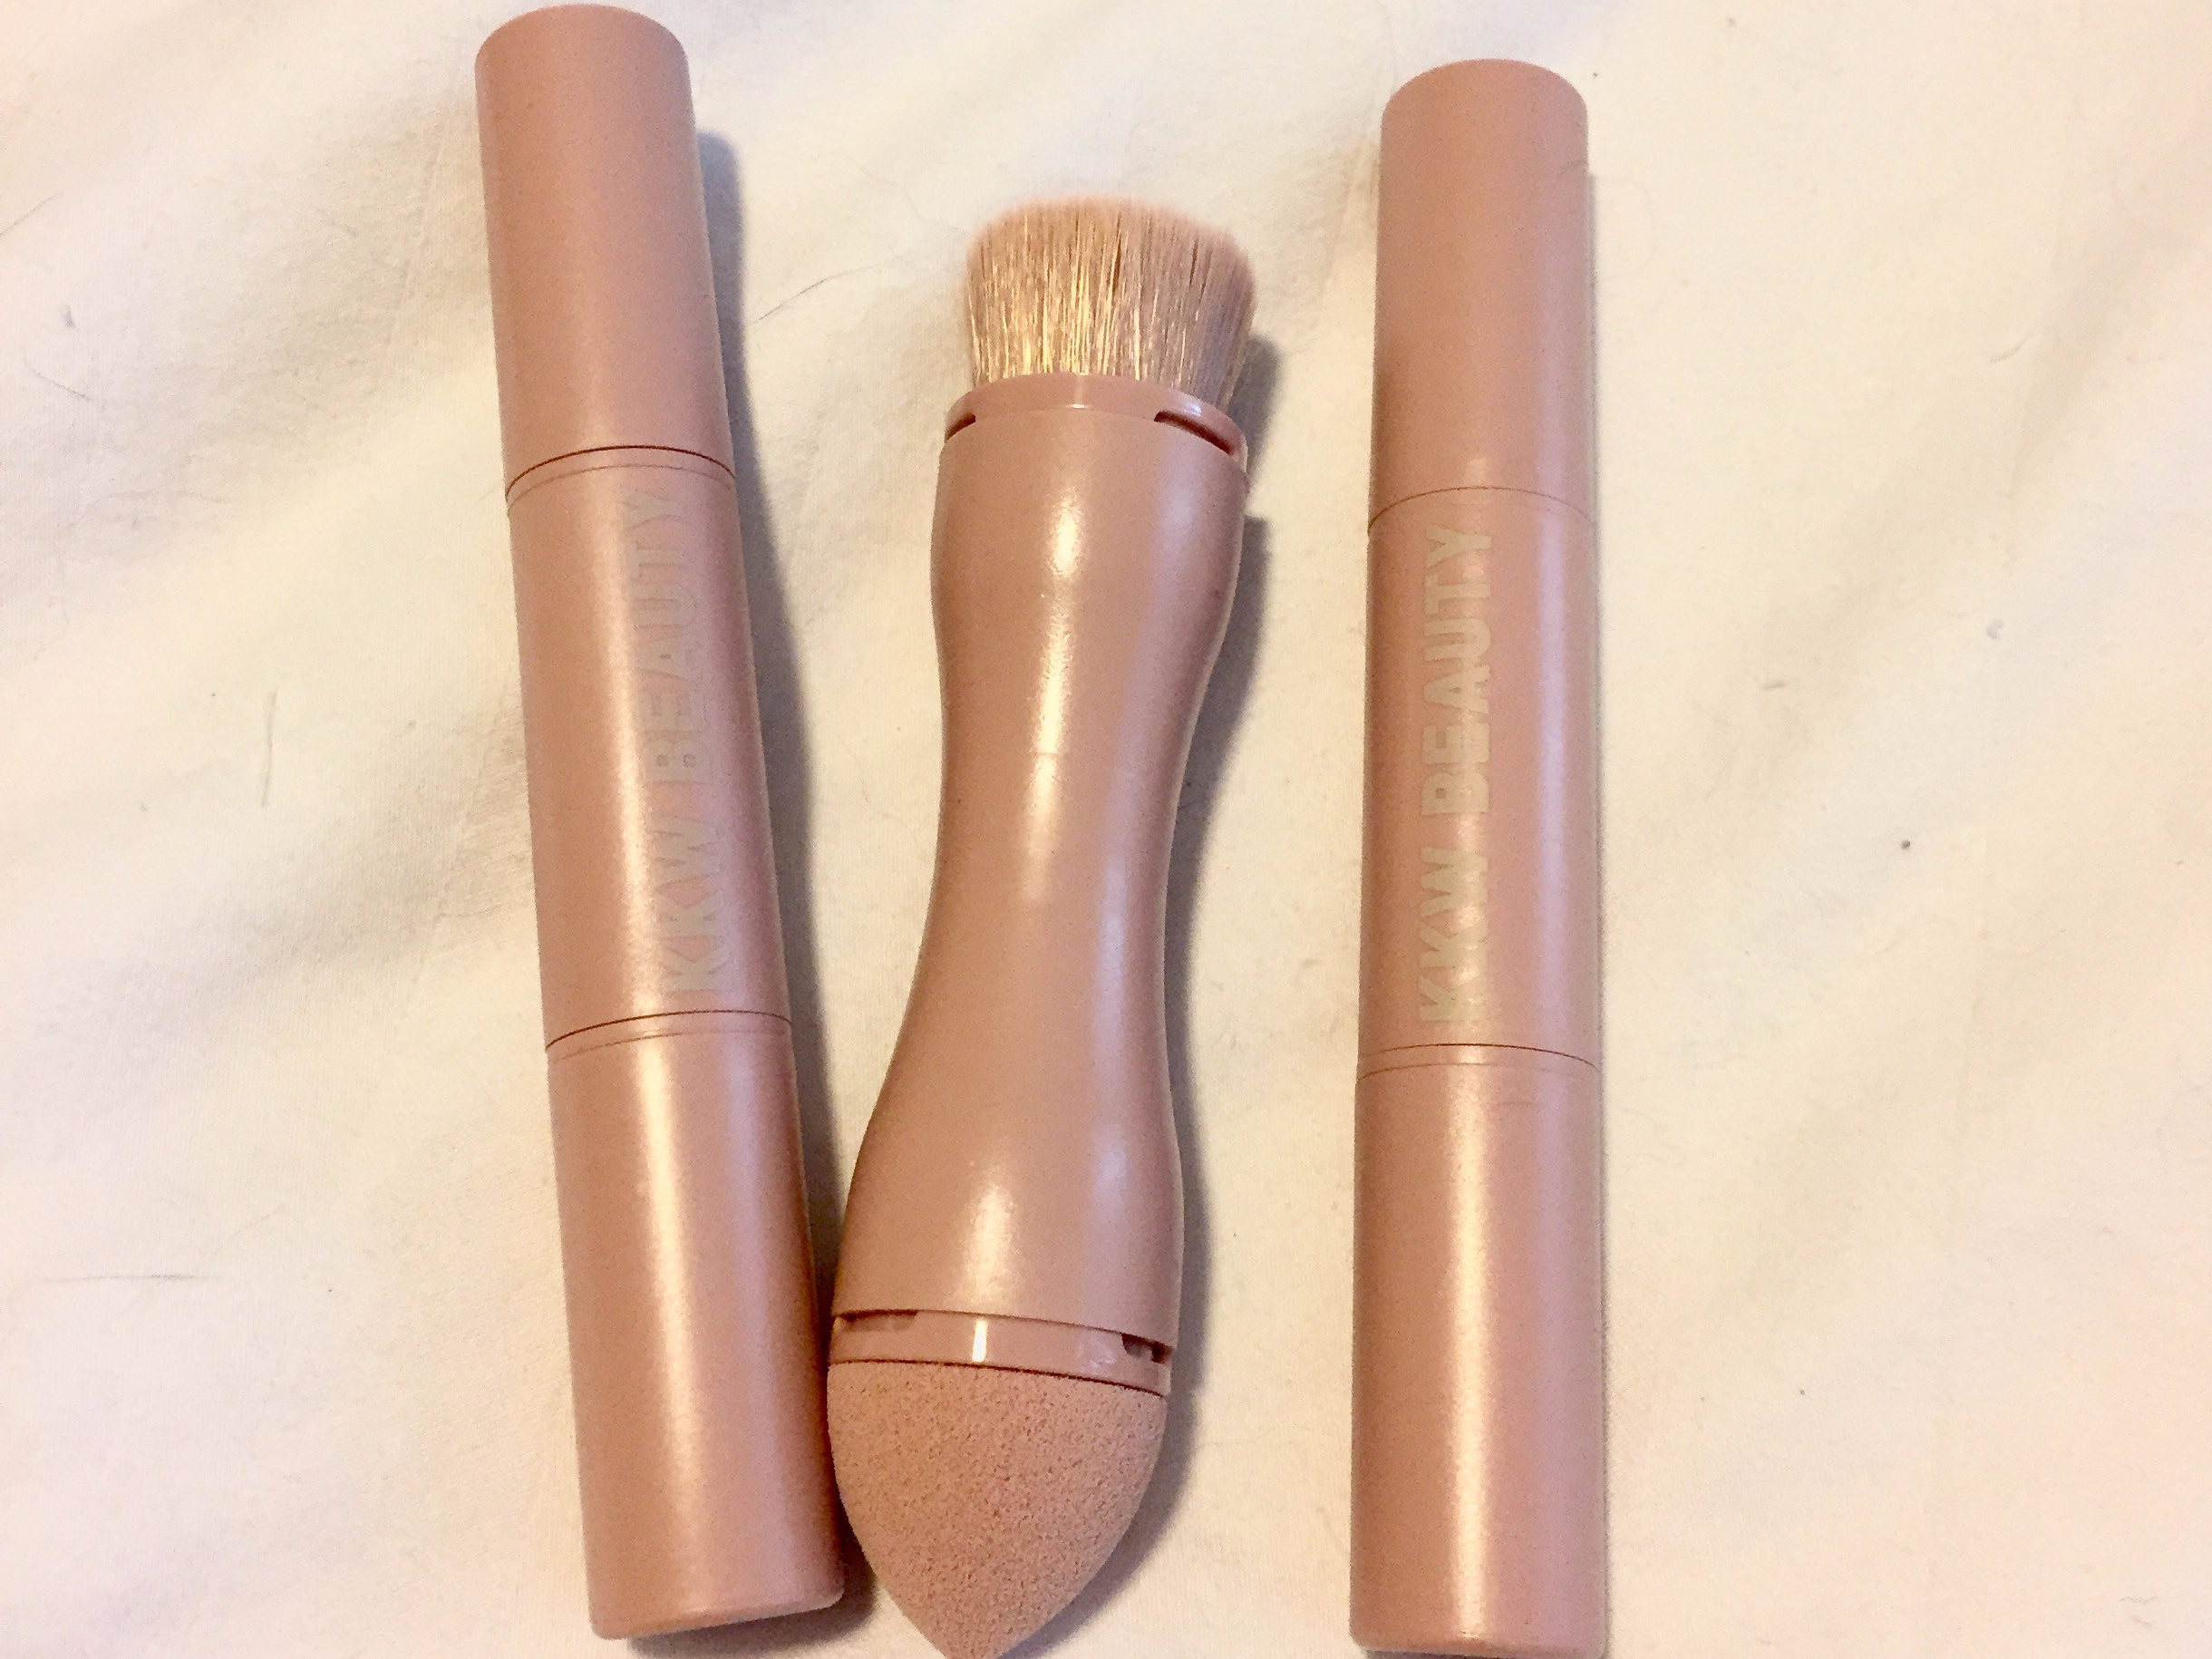
The kit came with two contour sticks. One stick has a darker contour shade and a lighter contour shade. The other stick has a matte highlighter and a shimmer highlighter. The kit also comes with a dual ended brush for blending. I’ve seen a lot of complaints over the packaging (which is just a bag) but I’m always more interested in what’s actually in the packaging than what’s on the outside.

KKW Beauty Contour Kit

KKW Beauty Contour Sticks

First, I took the lighter shade of the contour stick and applied it to my jawline, cheekbones, forehead, and a little on the corner of my nose.

IMG_6973.jpg

IMG_6976

I, then blended that in with the brush side of the dual ended brush that was included in the kit.

FullSizeRender (28).jpg

Next, I used the matte side of the highlighter stick and applied it down the bridge of my nose, chin, forehead, under my brow bone, and below the area where the contour shade was just applied. I then blended it all out.

IMG_6979

Lastly, I added the highlighter on top of my cheekbones and this was the final product:

IMG_6981
IMG_6980

VERDICT: I was actually pretty disappointed with this kit. I felt like it didn’t blend very well with the blender brush or  even when I tried with a beauty blender. These products also rubbed off a lot of my foundation while attempting to blend and exposed the redness under my foundation. Plus, to be quite honest, it didn’t look much different from when I was only wearing foundation.

What do you think? Has anyone else tried this kit?
Diana


Anastasia-Beverly-Hills-Dip-Brow-Review-Tutorial.png

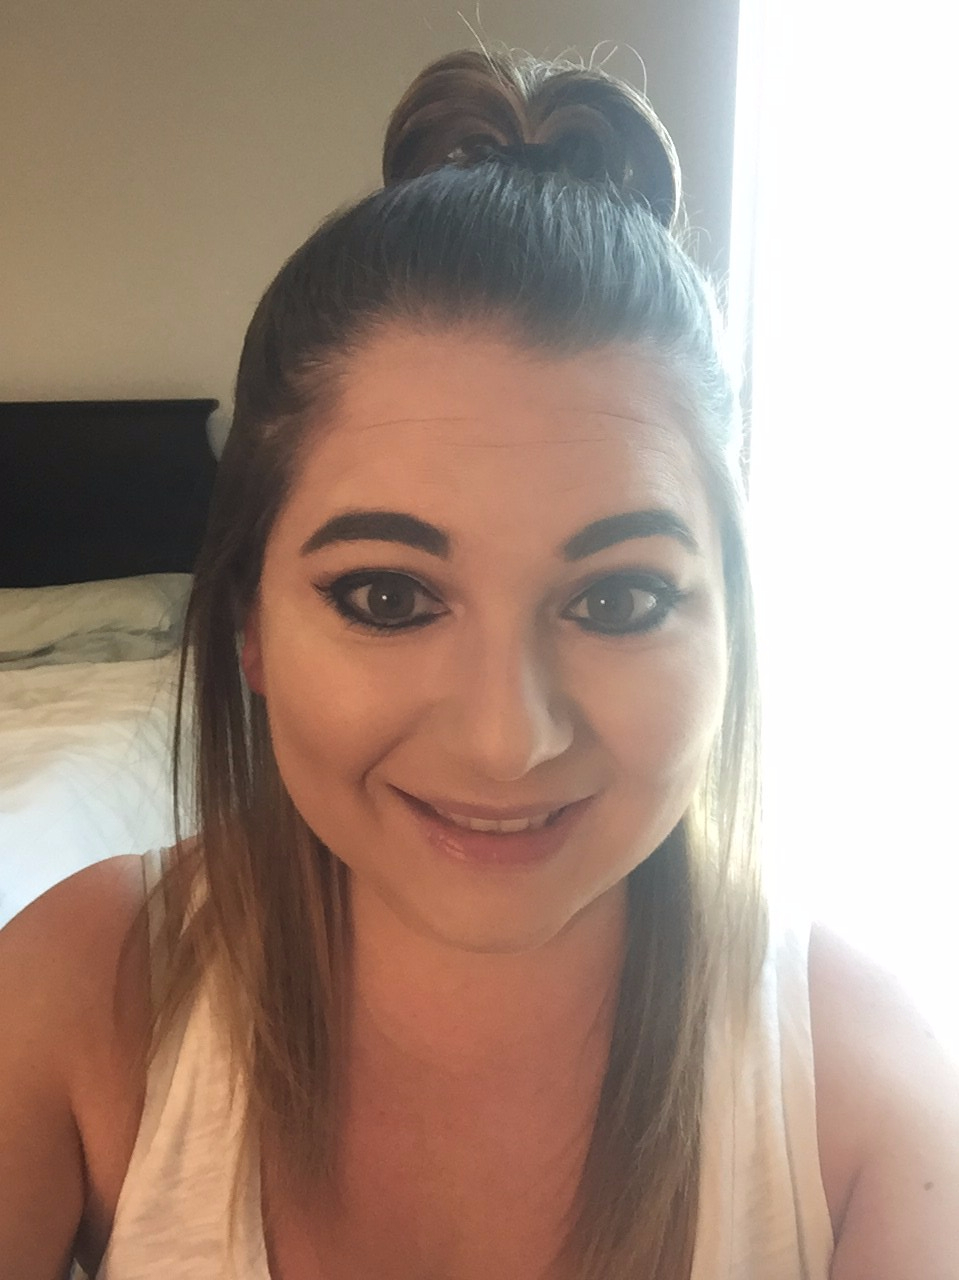
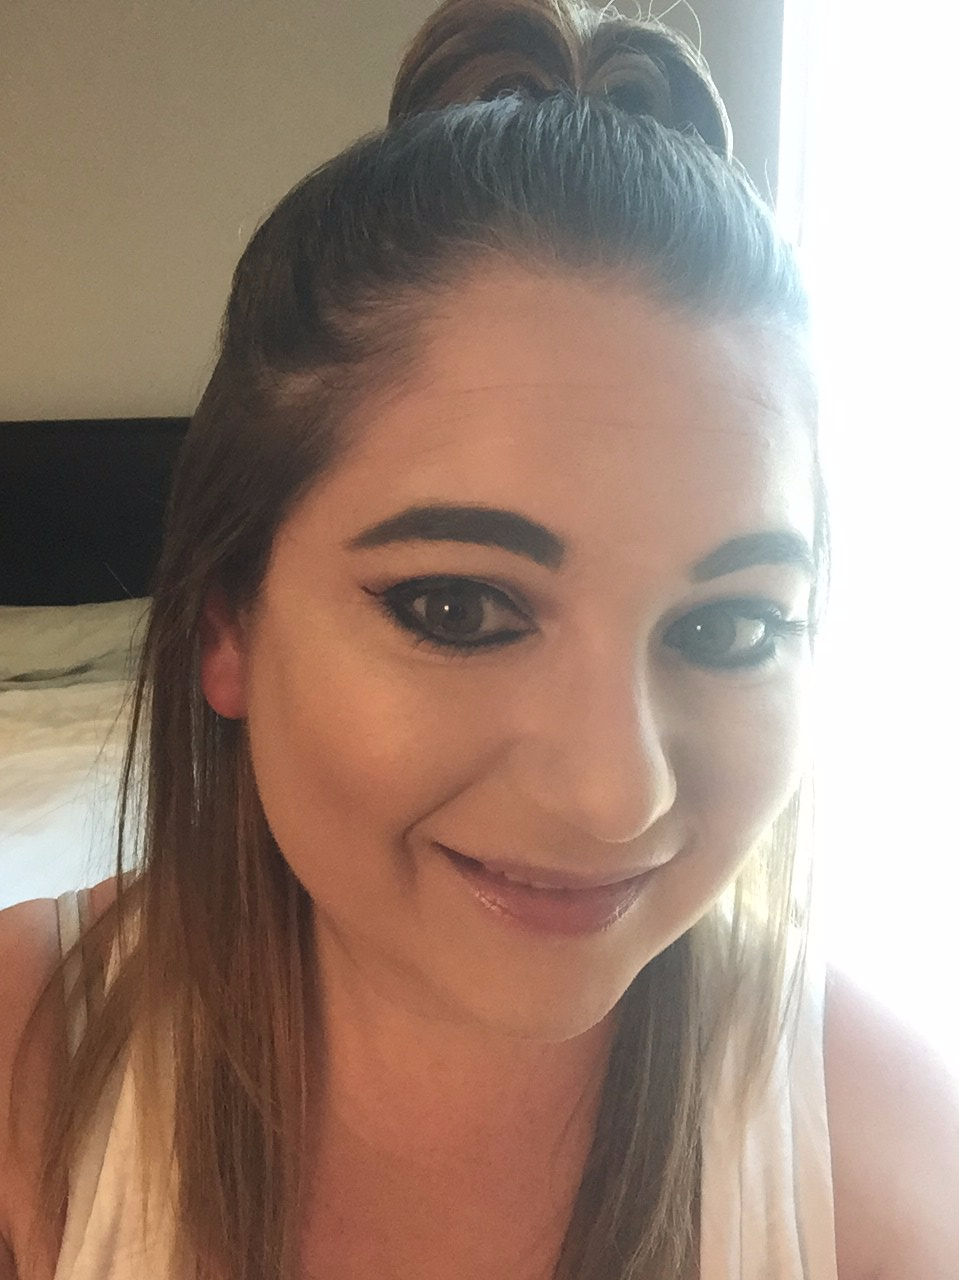
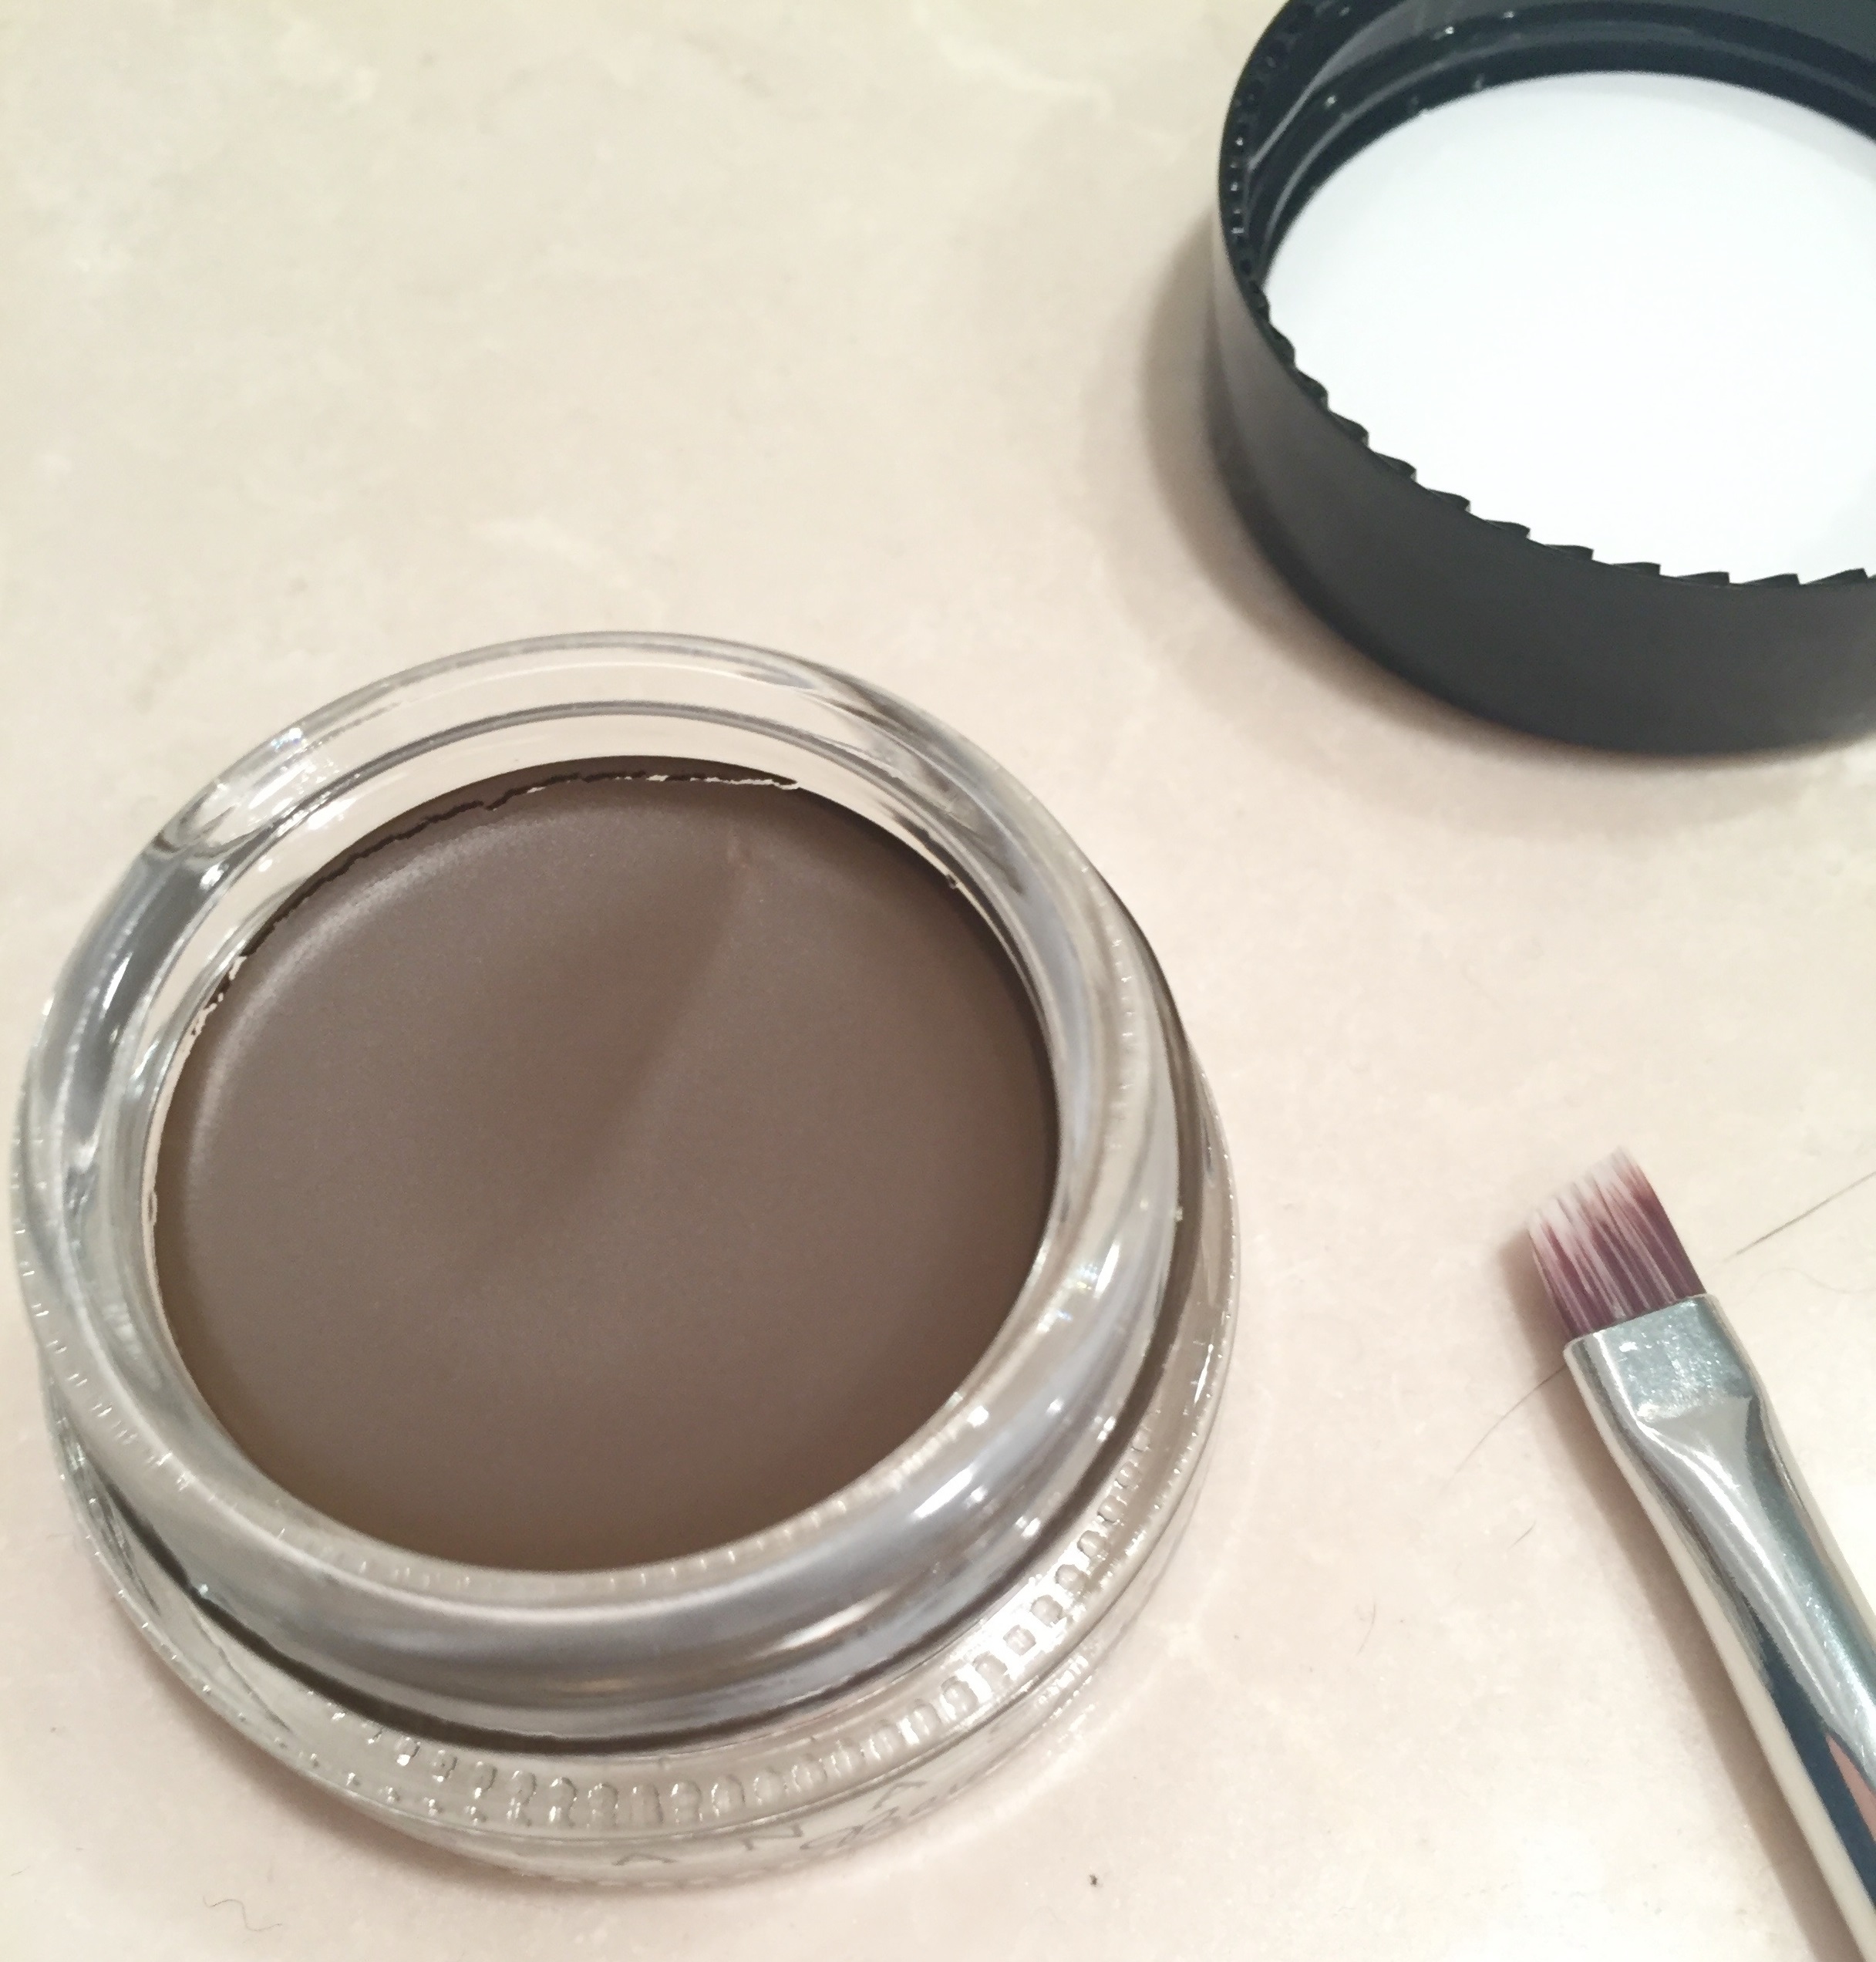
While sitting at a bar the other day, a woman came over to me and said “wow, you’re all about your brows, huh?” I was completely taken aback because I didn’t think my brow makeup was anything spectacular. At this time, I was using Benefit’s goof proof . I love that brow product but after that nice lady’s compliment, I felt I had to experiment with different brow products and share my knowledge with the word. This Anastasia Beverly Hills Dipbrow Pomade ($18) has been all over the blogosphere recently so since I “am all about my brows,” I just I had to try it. I purchased the pomade in shade “medium brown” and also purchased the Anastasia Beverly Hills Duo Brush #12 ($18) and I was so glad I did. This product goes on so smoothly and makes it so easy to define my brows. I don’t think this product would work as well without the brush that specifically goes with it.

IMG_6840.JPG

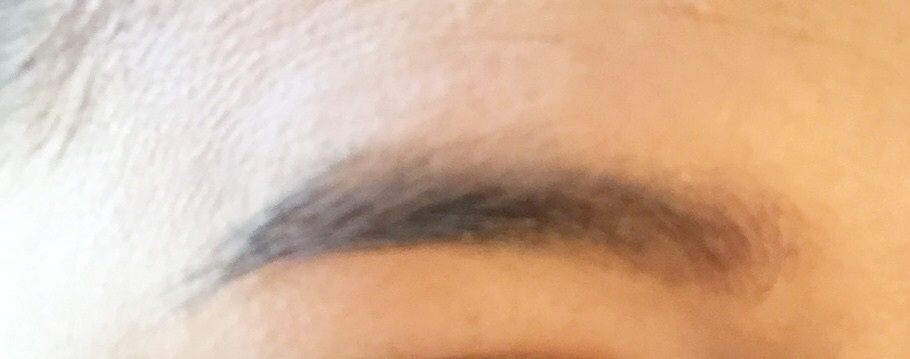
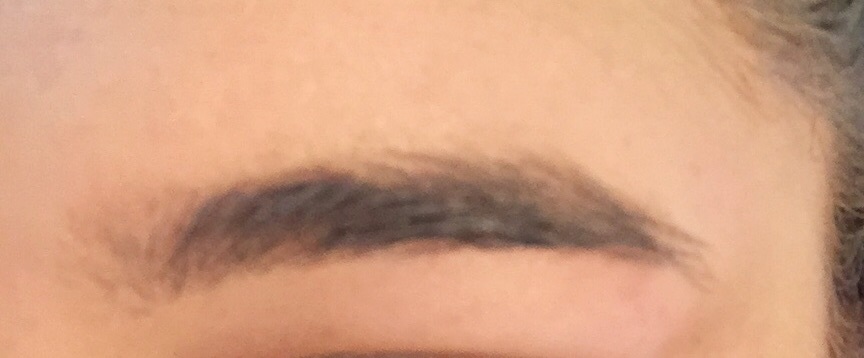
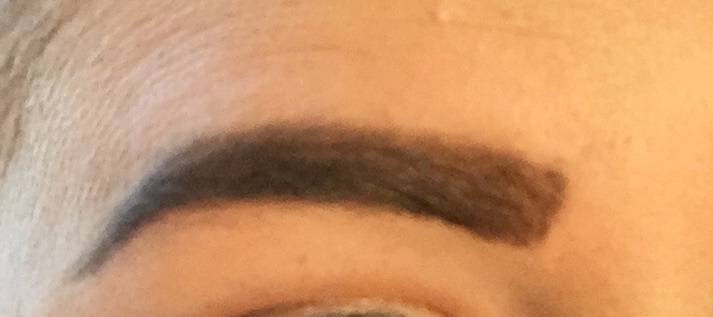
Now, let’s get to the tutorial. First off, I had just gotten my eyebrows waxed so having a proper base always helps when doing your brow makeup. Here’s what my brows look like without any product.

IMG_6830   IMG_6829

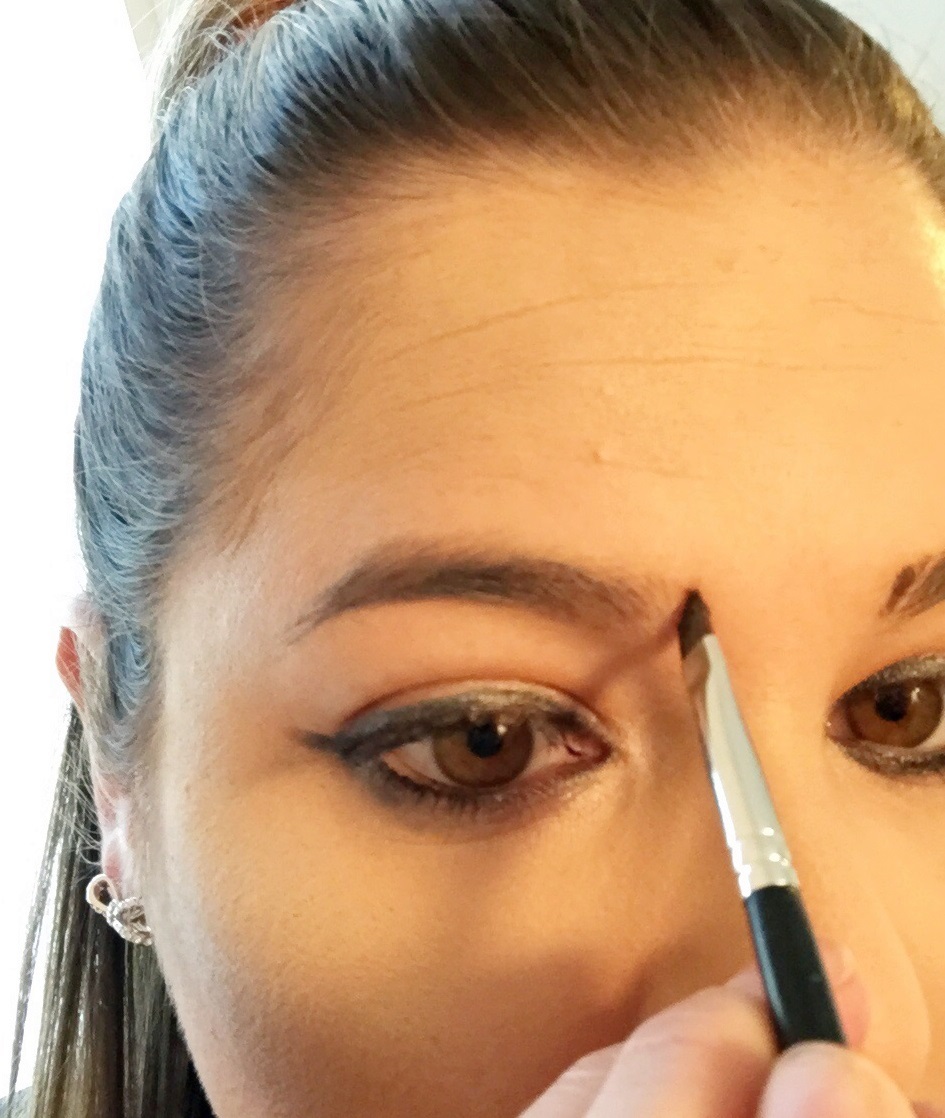
The first thing you want to do is make a line directly above the edge of your nose bone.

brows1

You can expect to look a little scary, like this:

brows2.JPG
Next, start filling in where you just drew the line towards your actual brow. It’s easiest to keep making upward lines and keep filling in between the lines. Then, you want to make a line along the bottom of the brow. Lastly, the arch should be about 3/4 of the way down of your natural eyebrow length. So, fill that in so it goes a little bit higher than the rest of the brow. Finally, just fill in the rest of the brow.

IMG_6835   IMG_6836

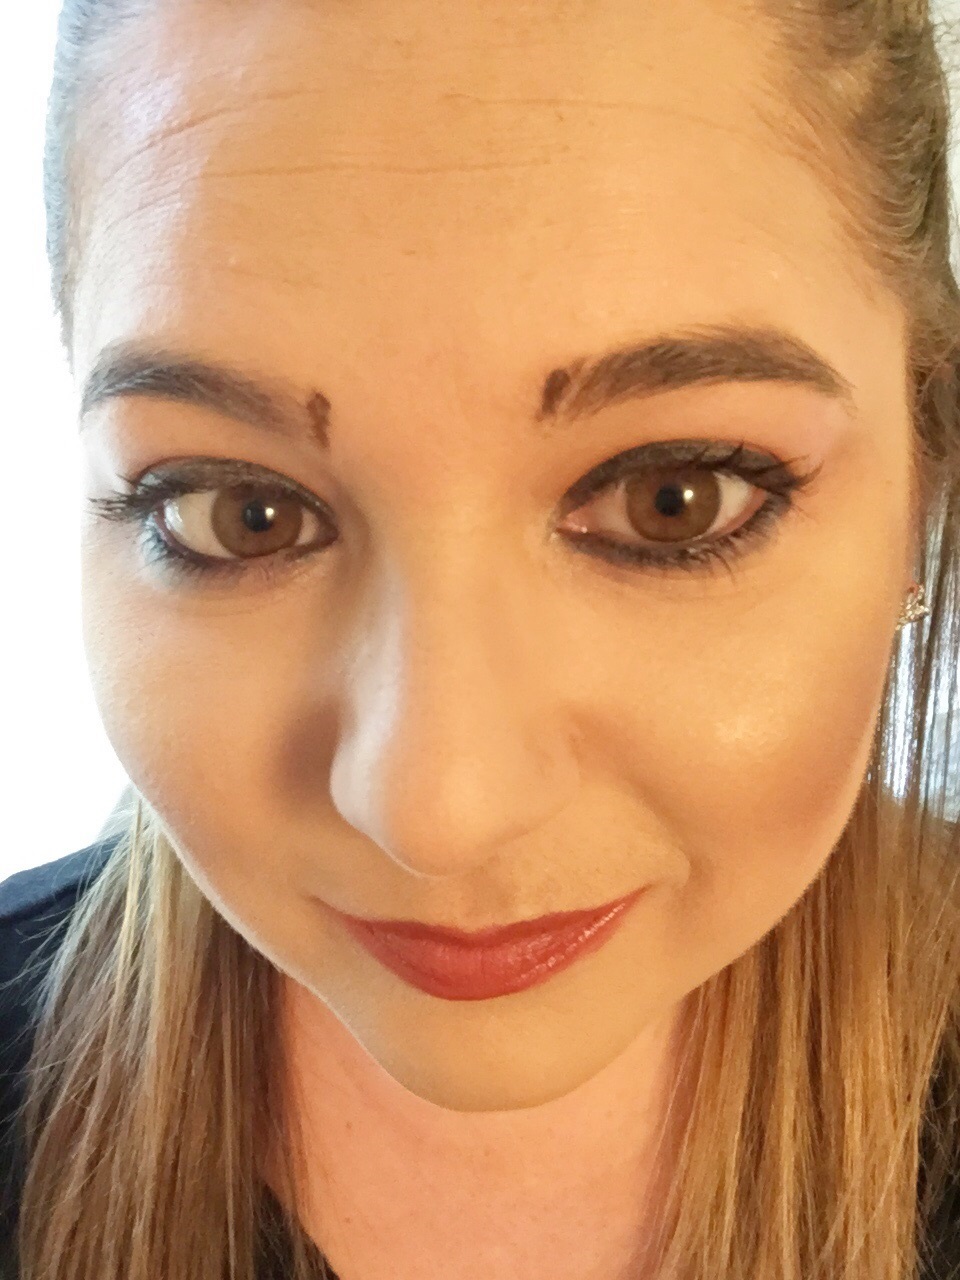
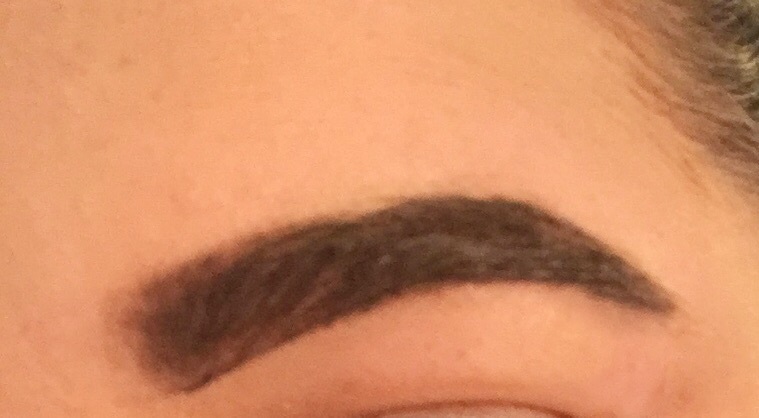
Take a look at the finished product:

me.jpg
There ya have it, folks! I hope this was helpful. Did this make any sense at all? Sometimes, I feel like I have a hard time explaining directions but hopefully you get the gist!

Diana


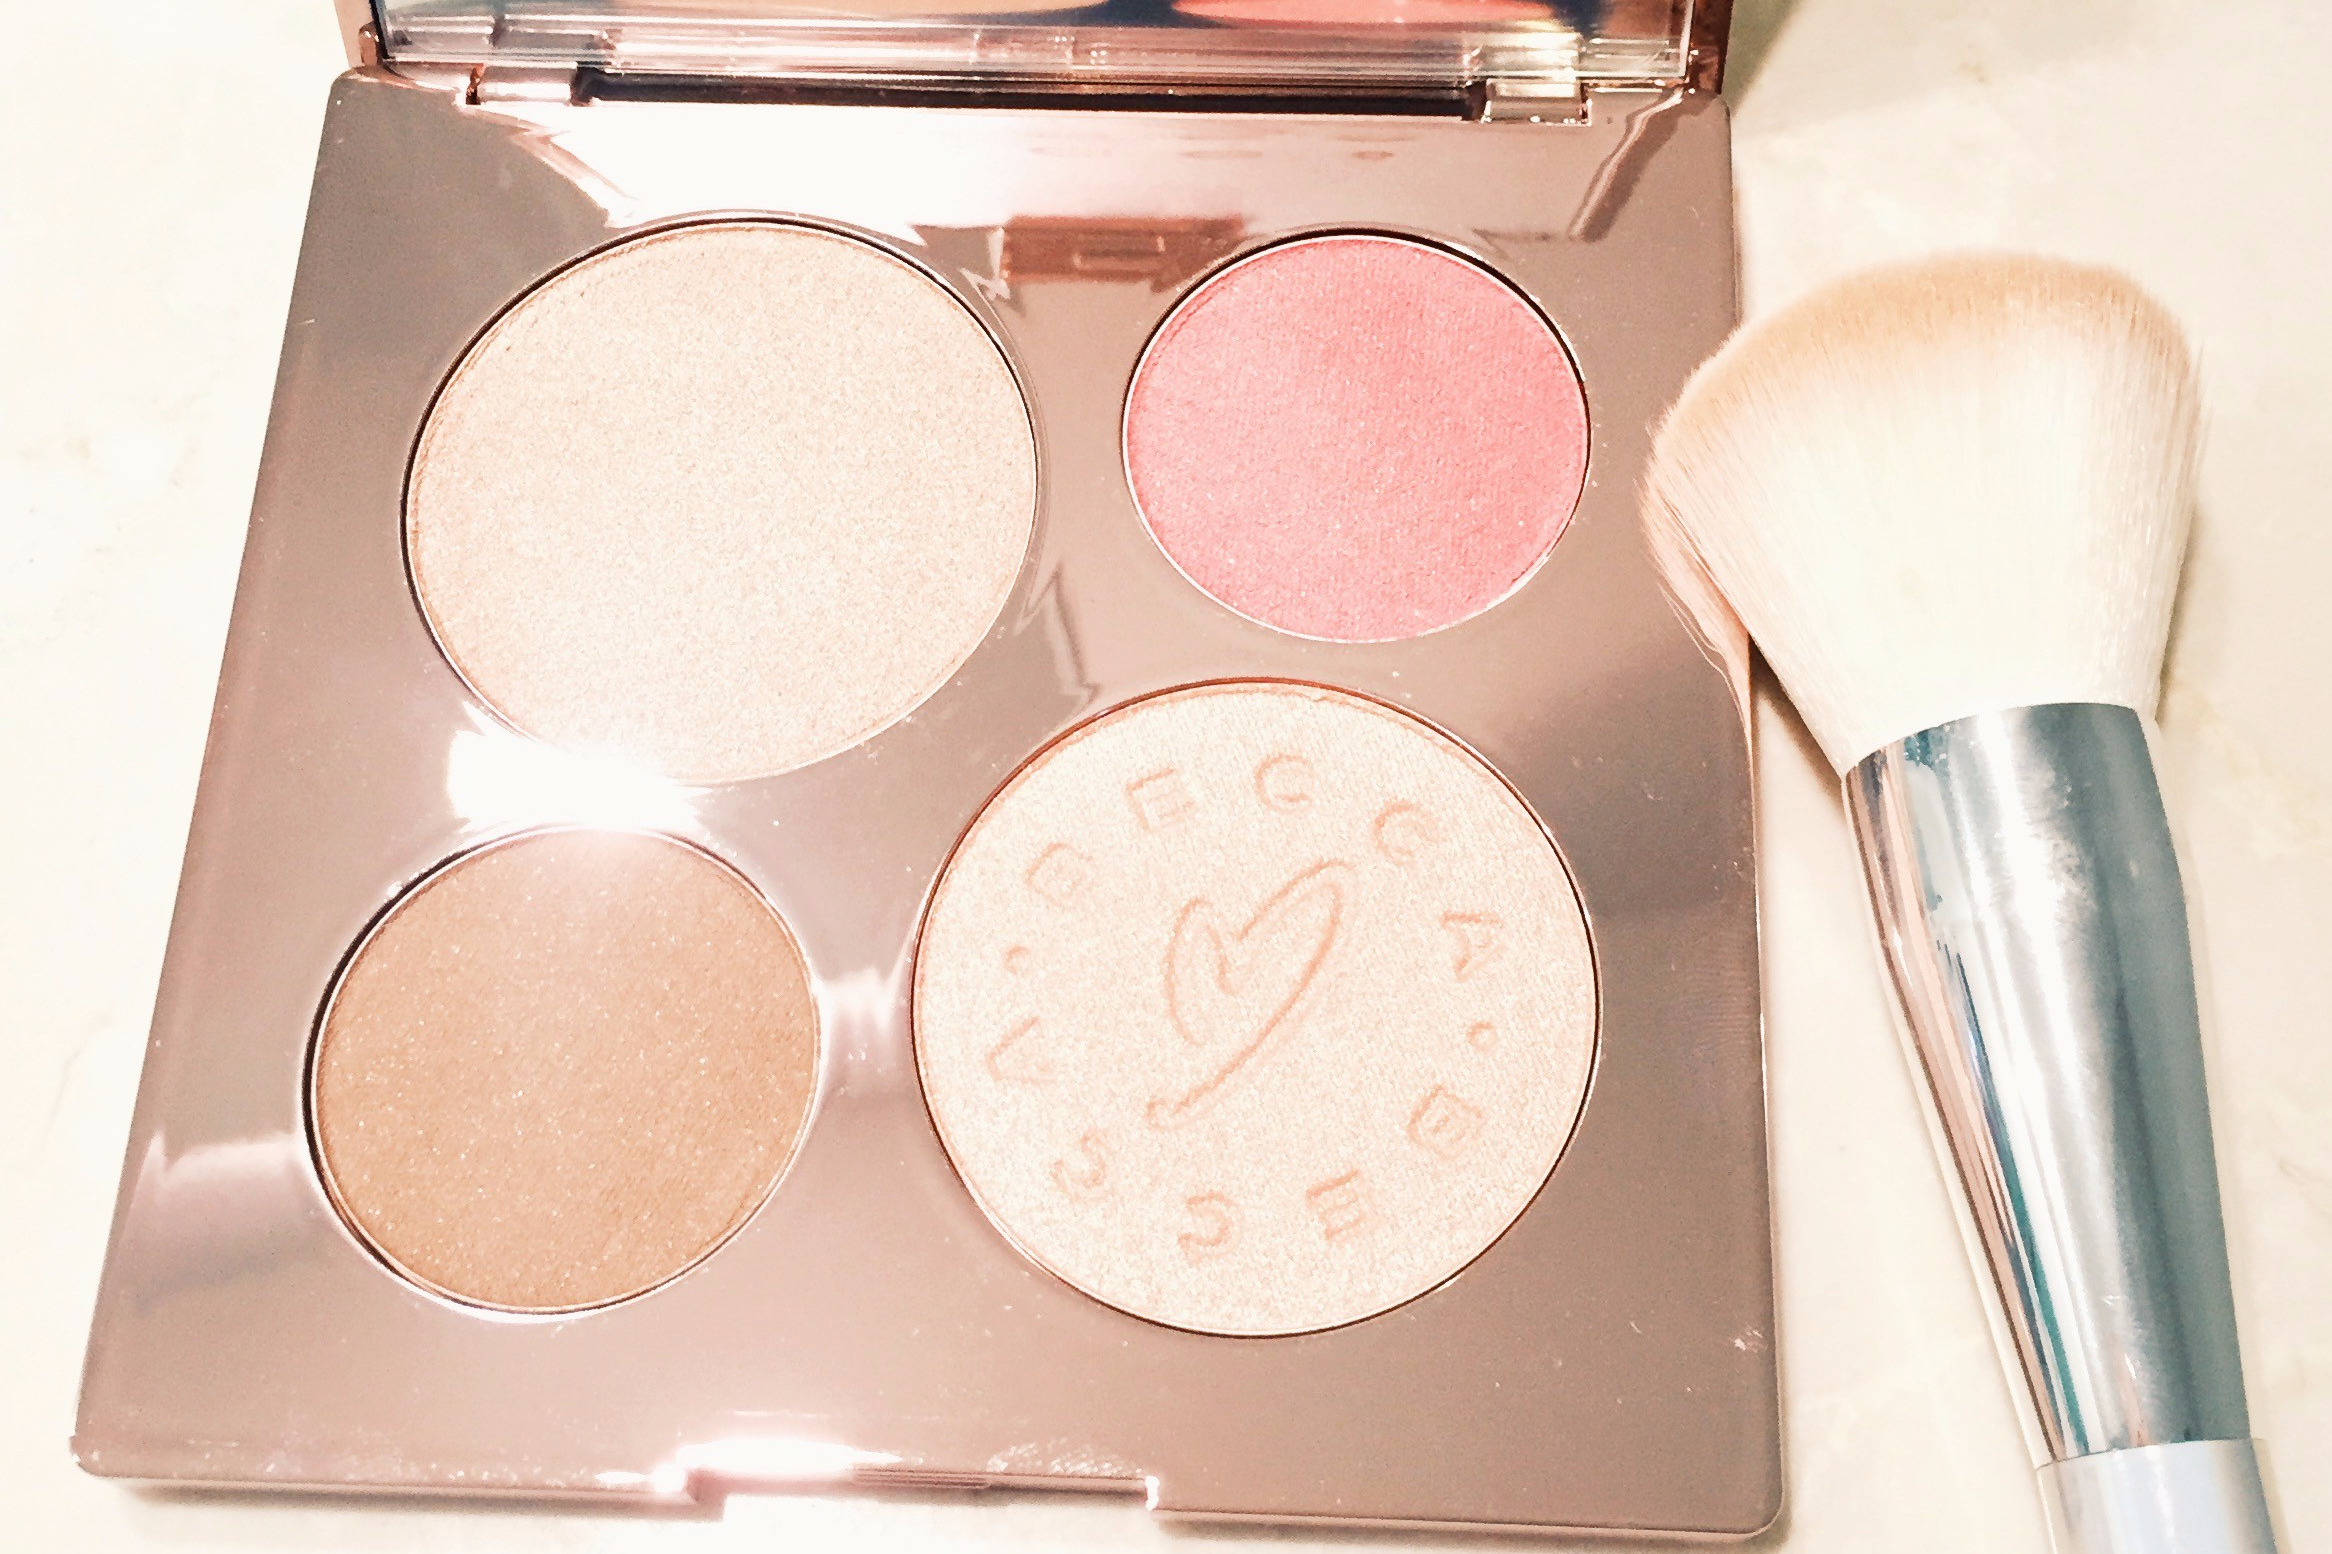
becca.JPG

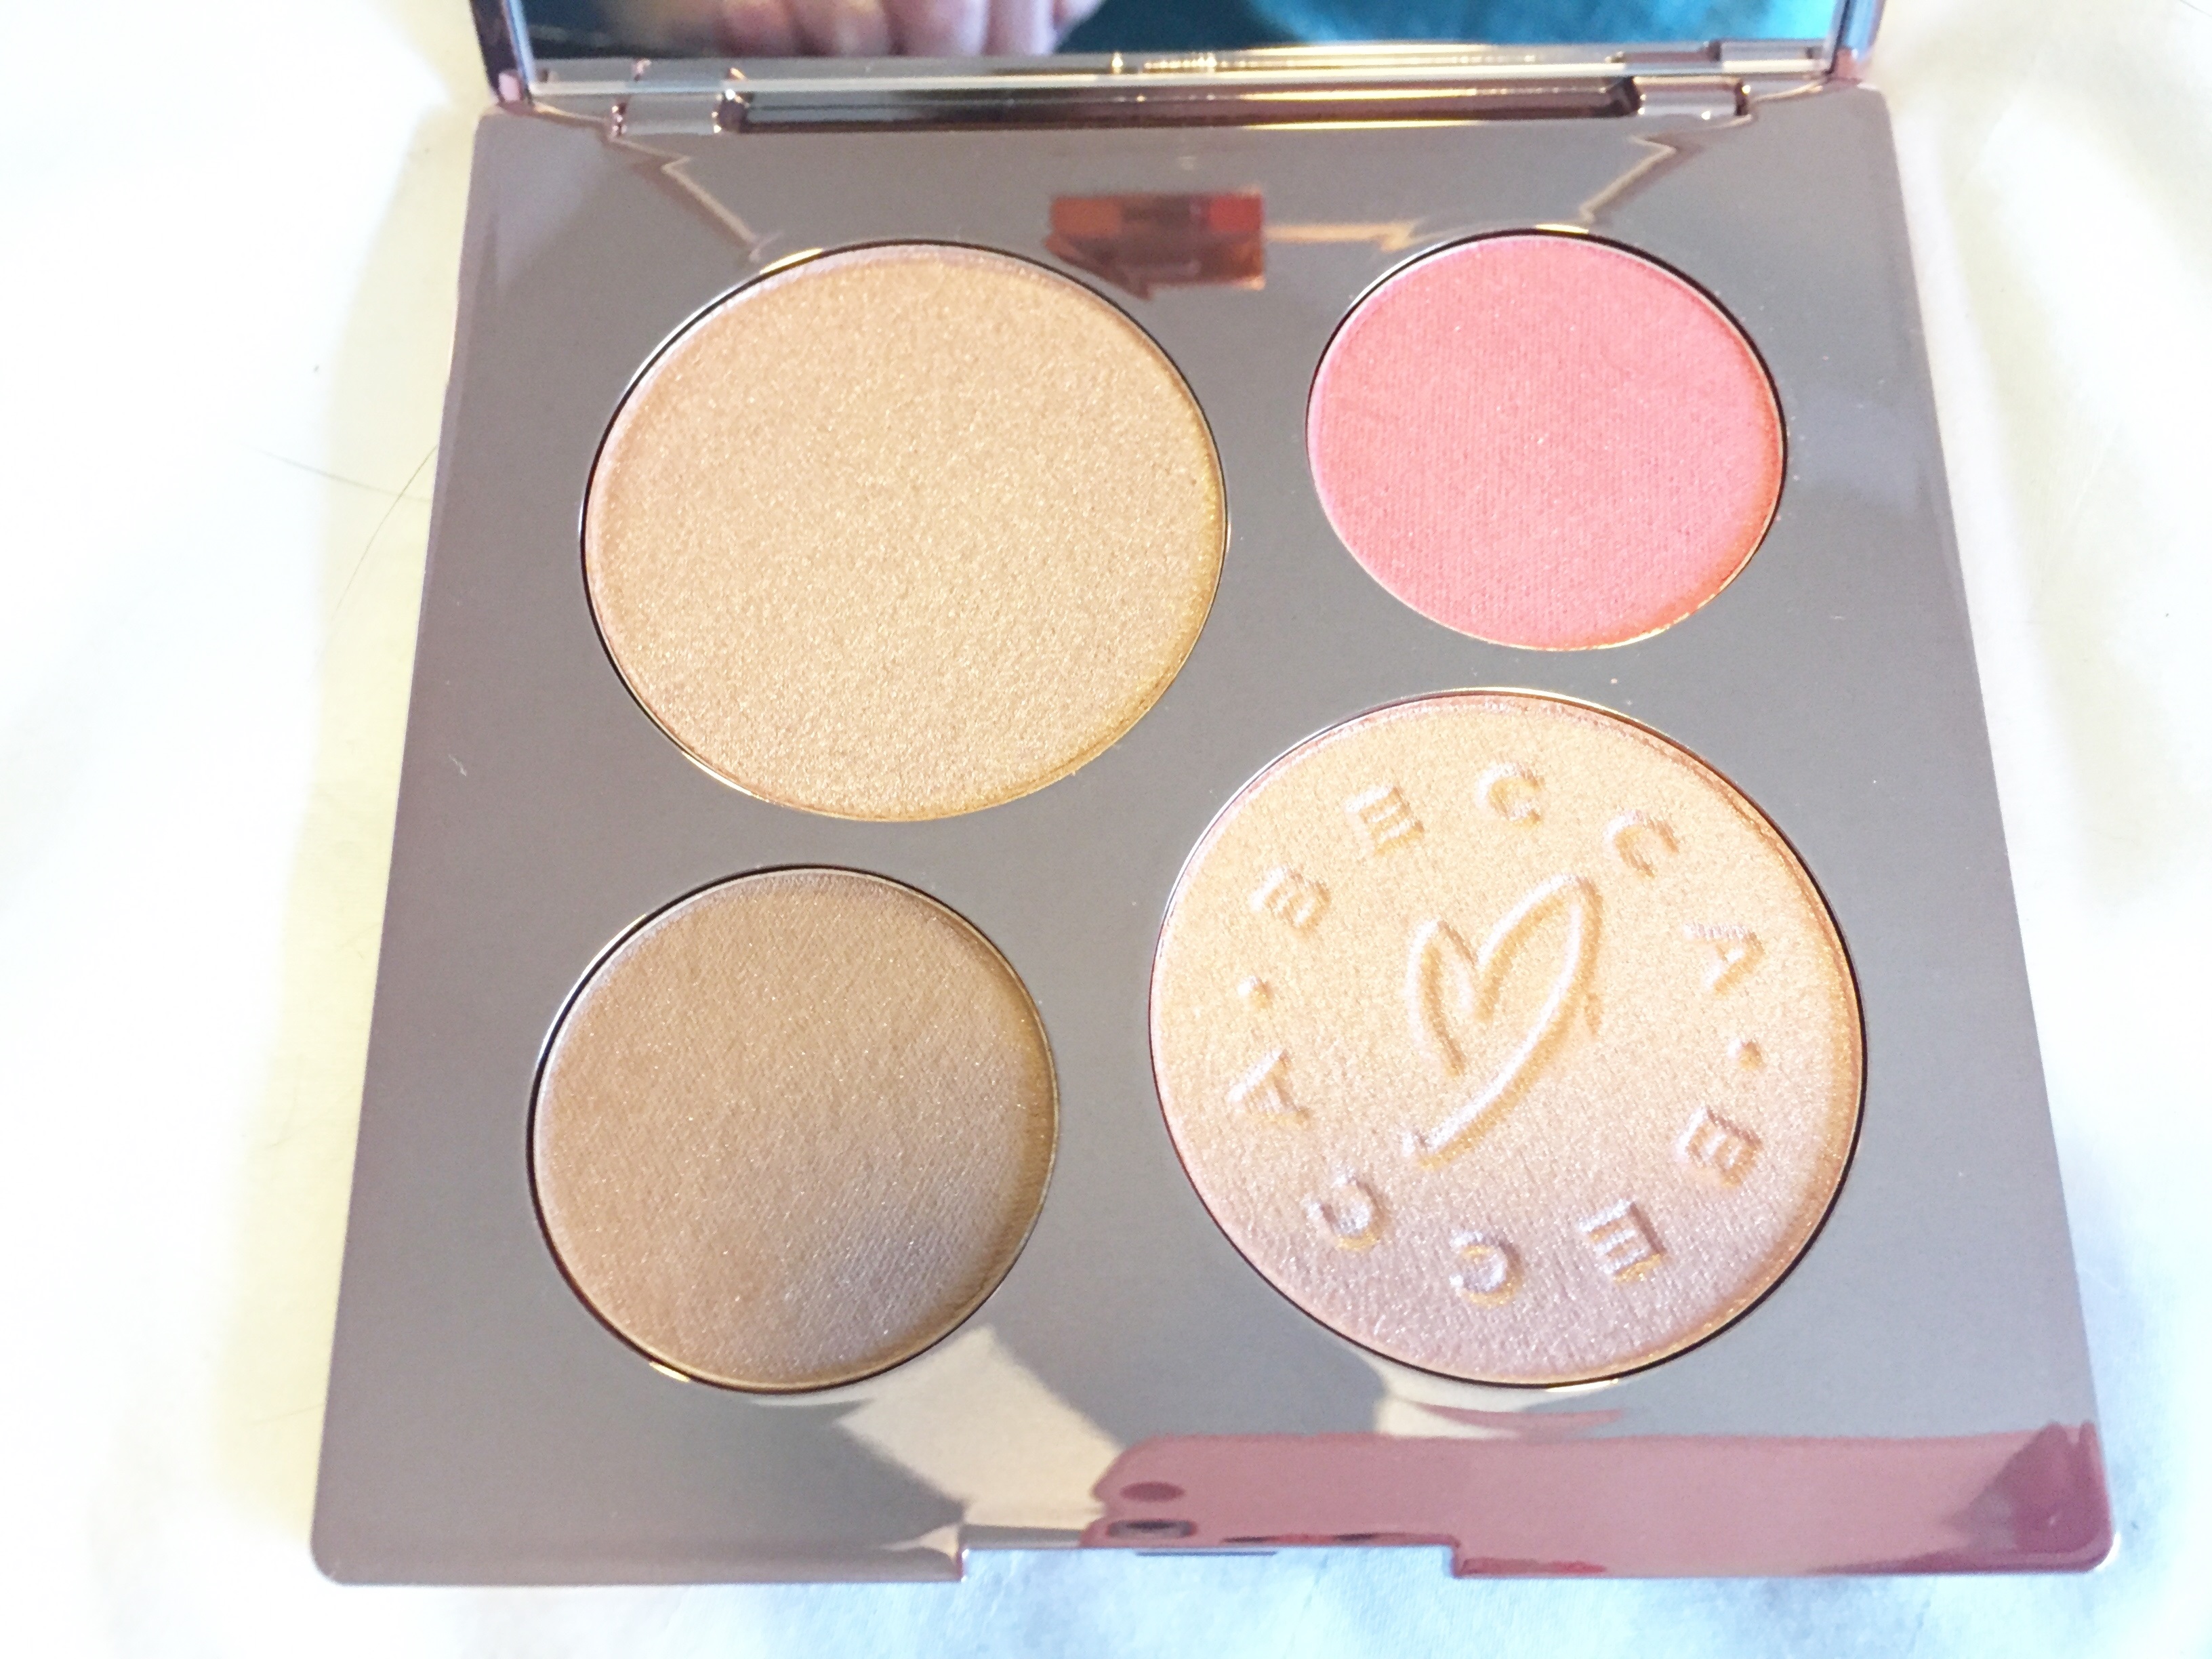
Chrissy Teigen has got to be my favorite person on the planet. Her tweets alone have me in stitches. Not to mention, she’s gorgeous, smart, and a wonderful mother and wife. So, when I heard she came out with a makeup palette, I knew I had to have it. You can purchase this palette here at Ulta or here at Lord and Taylor. If you purchase from Ulta, you will receive a free Becca Deluxe Highlighter in Opal! Who doesn’t love free makeup?

First of all, the packaging is beautiful and I love the “becca” design in one of the highlighters.

becca1.JPG

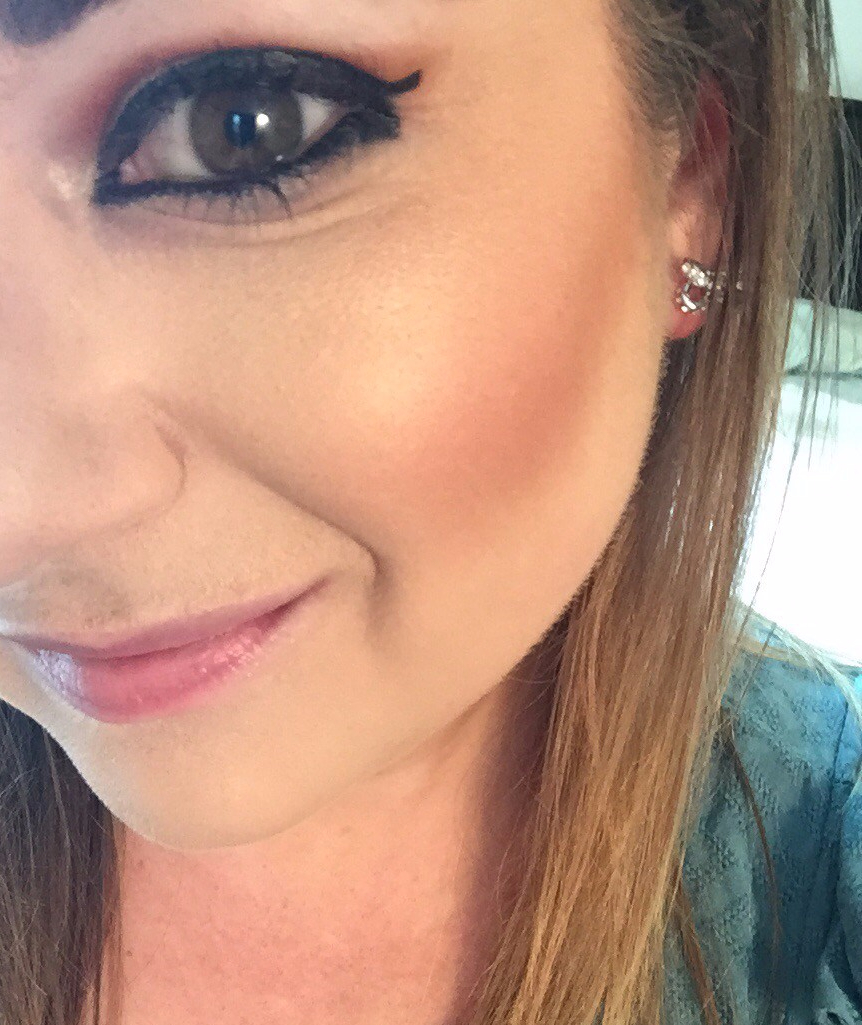
To create the look below, I took the bronze shade and applied the color to the indents of my cheekbones. Then, I applied the blush shade right on top of the bronzer. Lastly, I took both of the highlighters and applied them above the blush.

IMG_6684


IMG_6687

Verdict: I definitely like this palette a lot. The colors went on smooth and stayed on really well. My only complaint was the intensity of the blush, so next time I use this palette, I probably will just skip that. Luckily, I can still say I love everything about Chrissy Teigen. Keep slayin’ girl.

What do you think of this look? Are you a huge fan of Chrissy’s like I am?

Diana

IMG_6243

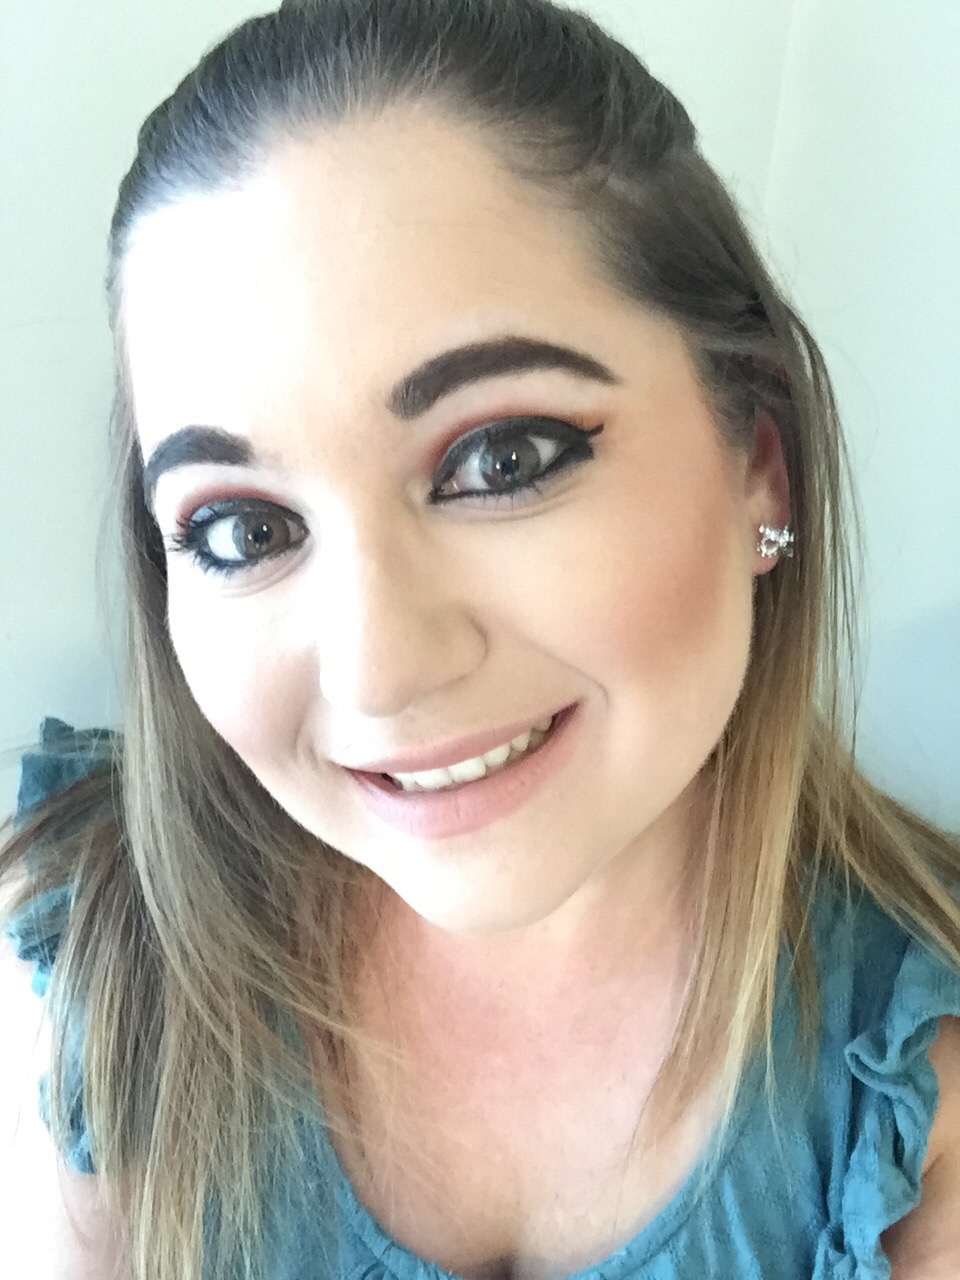
Before you get the wrong idea, I’m talkin’ nude color makeup! I recently purchased a nude color lipstick and wanted to try to create a nude eye to go with it. Nude shades are perfect for when you don’t want to look like you’re wearing a lot of makeup.

This post contains affiliate links. For more information, please read my disclosure.


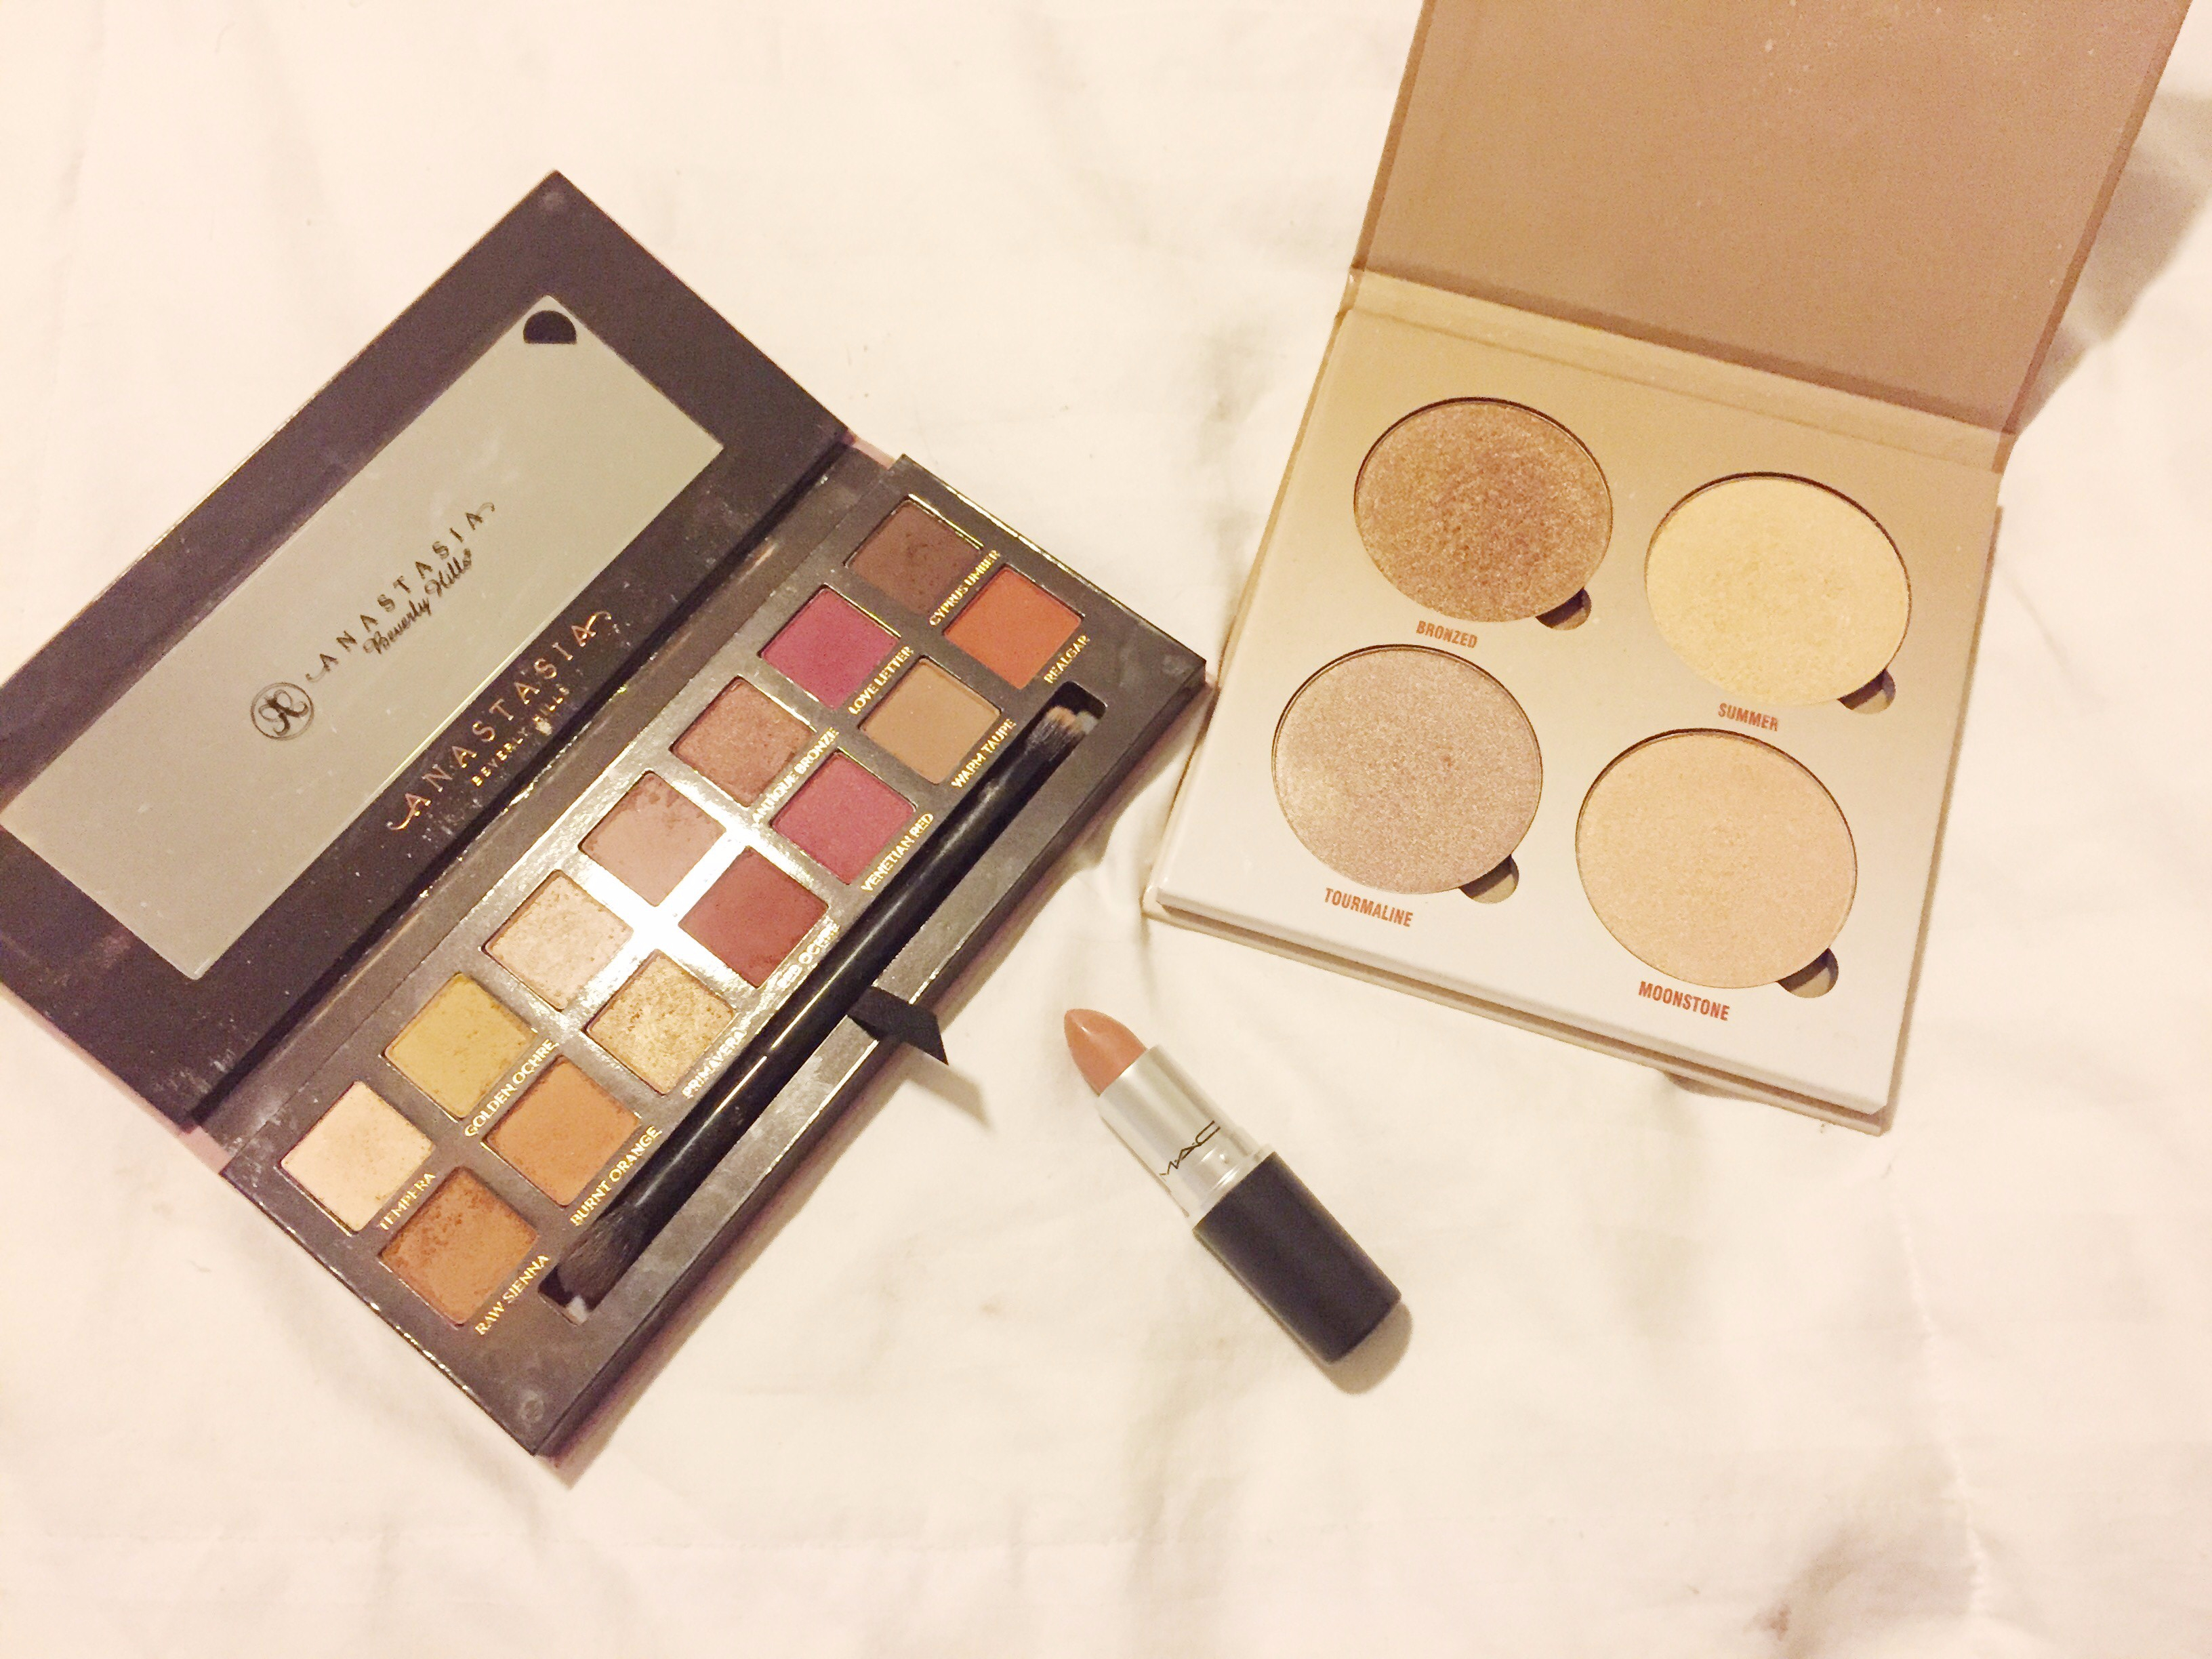
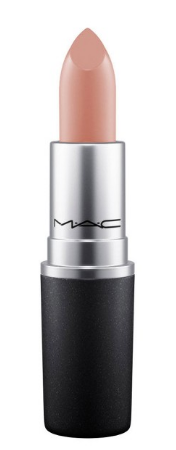
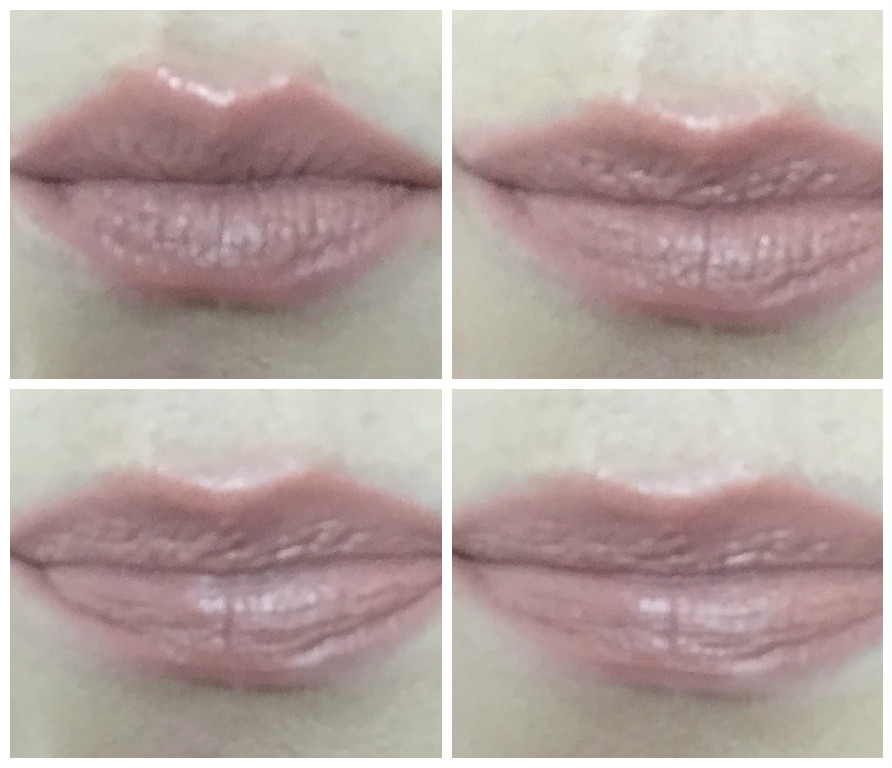
I purchased the MAC lipstick in shade Honey Love and it’s 10% off here. I’m not typically a lipstick wearer but this one isn’t drying at all and lasts a really long time.

mac1.PNG

lips

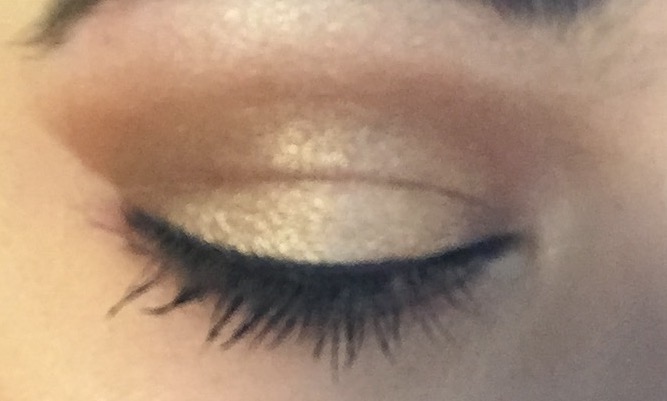
I created the following eye look with the Anastasia Beverly Hills Modern Renaissance palette. I cannot say enough good things about this palette. All the shades are super pigmented and it contains an equal number of shiny and matte shadows.

FullSizeRender (8)

To create this look I used raw sienna as the transition shade, golden ochre in the crease and outer v, and primavera for the lid color. I also lined the lash line with Kat Von D Tattoo Liner and Benefit They’re Real Mascara.

So, what do you think? Will you dare to go nude?
Diana